
The presenter of the Annual Lecture of the Scottish Society for the History of Photography (SSHoP) at the National Gallery of Scotland in Edinburgh on 15th November 2019, was the contemporary fine art photographer Garry Fabian Miller. His presentation lasted just over one hour in which he described his career to date in detail including his family background, influences, a brief description of his early social documentary and landscape work, the thinking behind his switch in 1984 to camera-less photography, his current working practice and his collaborations with other artists, writers, poets and musicians.Born in 1957 to parents who ran (and lived in) a long established family studio photography business in Bristol, he was immersed in the atmosphere of the darkroom from early childhood. As a teenager his ambition was to become a 'serious' photographer, at a time when this effectively equated with social documentary photography. His first significant project as a teenager, influenced by the work of Paul Strand in the Outer Hebrides, involved at the age of sixteen, spending the summer of 1973 in the Shetland Islands, living with and documenting the lives of crofters and their families. Several of these images featured in the lecture and this experience of the cycles of rural life in remote wild places, has been a major influence on his life and work since then.A singular feature of his practice has been his use of Cibachrome paper and the dedicated chemistry required to process it, to produce all of his images since 1976. This dye destruction paper, designed as a reversal process for producing direct positive prints from colour transparencies, was known for its distinctively vivid but true to life colour palette, strikingly high gloss almost metallic surface finish and exceptional archival stability. Fabian Miller found that with long enough exposures, he was able to use this paper instead of film in a 10x8 inch large format camera, to photograph seascapes of the Severn Estuary from an attic window in his home. This resulted in 'Sections of England: The Sea Horizon' his first major work, which was first shown in 1977 in the Serpentine Gallery in London and formed the basis of his first solo exhibition in the Arnolfini Gallery in Bristol in 1979.He moved to live in a farm in Lincolnshire in 1980 and having developed an interest in Land Art, he transformed a barn into a small gallery, where he met and showed the work of among others Hamish Fulton, Andy Goldsworthy, David Nash, Marie Yates and Roger Ackling. In 1984 he started experimenting with the use of semi-translucent natural materials, grasses, leaves, seed heads and flower petals, placed in the negative carrier of his enlarger and exposed onto Cibachrome paper to make photographs direct from life. By the following year he had decided at the age of 25, that he no longer needed a camera. He made several seasonally based series of images, documenting the sequential changes in the colour of leaves as the chlorophyl levels changed over a period of weeks and several of these are now in the permanent collection of the Victoria and Albert Museum in London.In 1989 he moved with his family to Dartmoor, designed and built a studio with his darkroom at the bottom of their large garden, where he estimates he has spent at least fifty per cent of his waking hours ever since. In around 1992 he virtually stopped using plant materials having developed a technique for projecting beams of light, filtered through glass vessels containing coloured oils and liquids, directly onto photosensitive paper, with only small pieces of card placed in the light path to produce the geometric shapes in his photographs. His work has become progressively more abstract and since 2017, he has experimented with using additional small light sources, for example burning matches, to produce localised bright highlights mimicking the appearance of flames. His daily routine also involves walking , either in the early morning or the evening, taking inspiration in the special auras of light in the skies and the colours this produces in the blossoms of the vegetation, along with the atmosphere of the ancient archeological sites and burial cairns on the surrounding moorland, which he tries to represent in his work. Although most of his work has been made in his own darkroom, he has made some images on visits to the islands of Tiree, off the West coast of Scotland, Skellig Michael and Inis Meain (one of the Aran Islands), both off the West coast of Ireland. He described Inis Meain as one of the last bastions of purity in Ireland, a view shared by the artist Sean Scully, who made one of his few books of photographs on the island. While Fabian Miller always works alone in his darkroom, when it comes to distributing his work he has collaborated extensively with other artists including writers, poets, musicians, potters, weavers and curators. One of his most important collaborations over the years has been with Martin Barnes, the curator of Photography at the V&A Museum, who has aquired his work for their collection, wrote an introduction to one of his books, curated his 2005 exhibition at the V&A and included his work in the major retrospective exhibition of camera-less photography, 'Shadow Catchers' also at the V&A in 2011. Several other authors have also contributed to sections in his books, including Marina Warner, Nigel Warburton and Adam Nicolson (The Colour of Time, 2010) and the author and ceramicist Edmund de Waal with the poet Alice Oswald (Blaze, 2019). Alice Oswald has also collaborated in live performances of his work along with her poetry as has the cellist and composer Oliver Coates.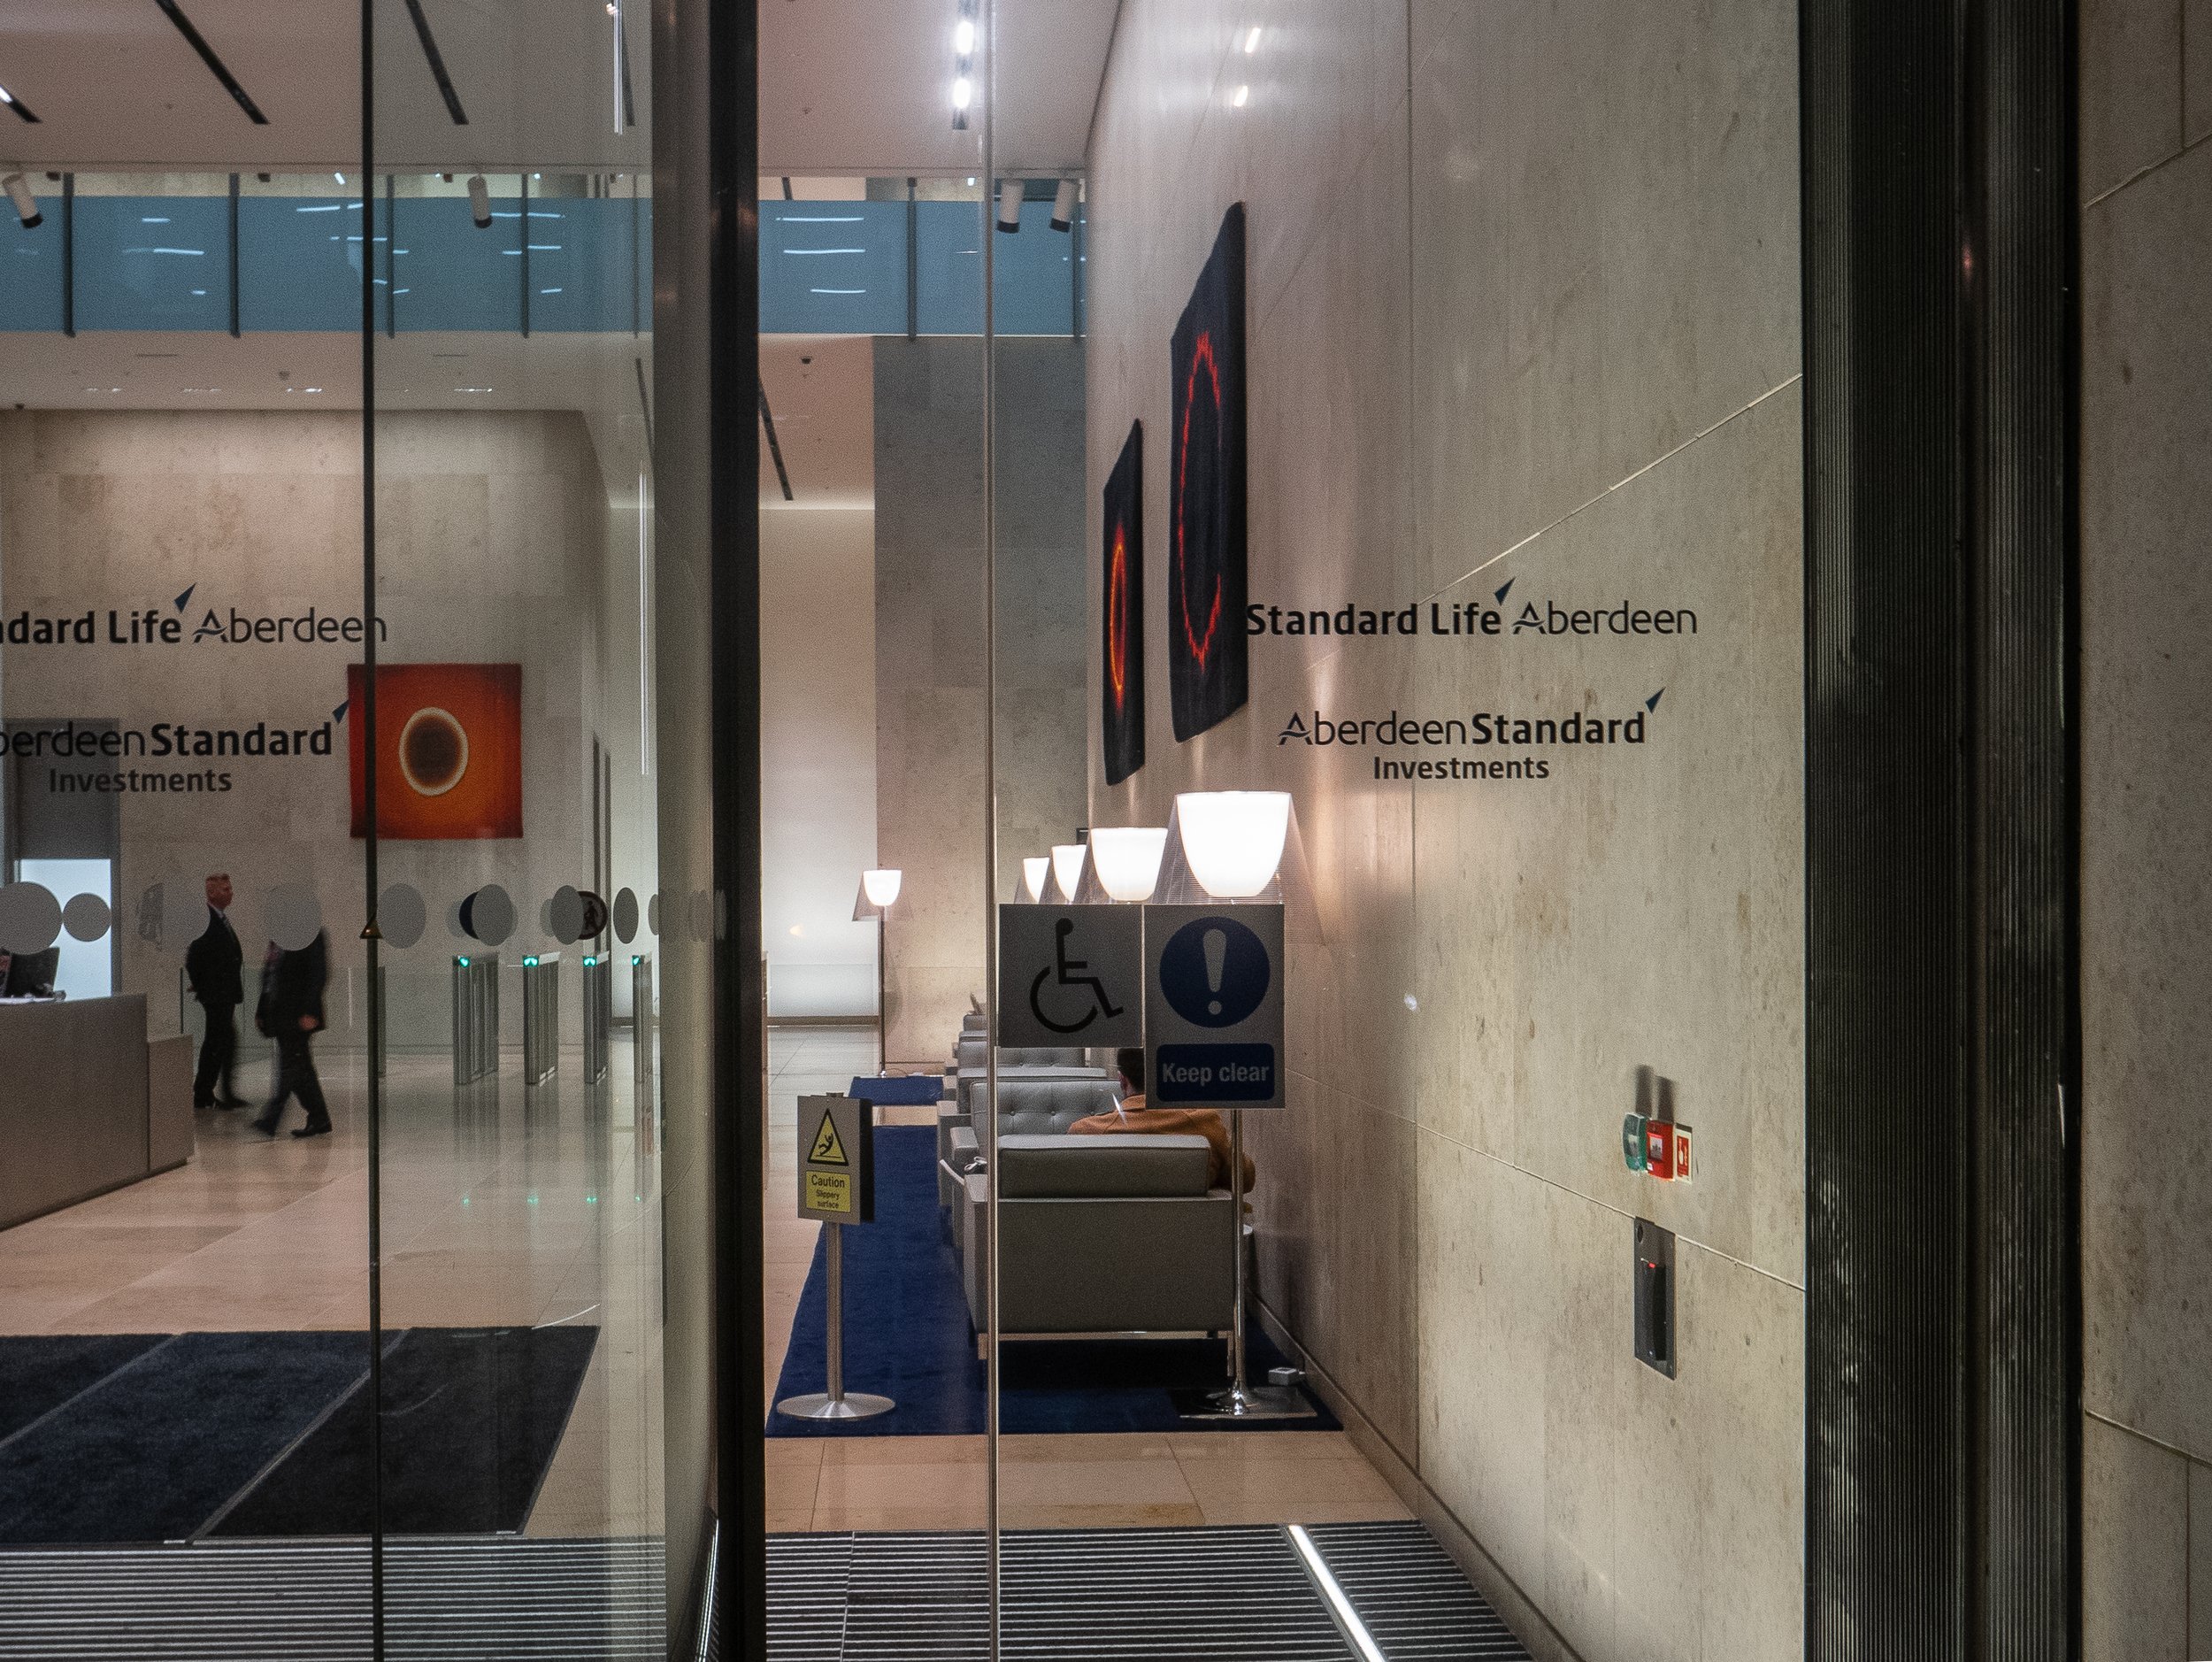 Since 2013, Fabian Miller has also worked with the weavers in the Dovecot Studio in Edinburgh, making gun tufted rugs (some of which have been acquired by the Standard Life Aberdeen Investment Bank for the foyer of their Edinburgh Head Office - see photograph above) and in 2017 a tapestry, based on the colours and shapes in his photographs. Probably his most important collaboration over the last ten years has been with John Bodkin a master of digital printing who has helped in the challenging process of colour correcting high resolution scans of Fabian Miller's Cibachrome prints, while trying to maintain as closely as possible the subtleties of their original appearance and surface. This allows them to be re-printed to archival standards as 'C'prints using the Lambda Lightjet printing system, for exhibition at a much larger scale. Some of these prints were recently exhibited at the Ingleby Gallery in Edinburgh who have also worked closely with Fabian Miller for many years (see previous post from 16 Dec 2019).Moving into the third decade of the 21st century, it is relatively unusual to find an internationally acclaimed photographer whose primary method of creating images is so completely dependent on a traditional wet darkroom process. This is all the more surprising on discovering that no Cibachrome papers have been manufactured since 2012. Cibachrome papers are relatively stable if correctly stored (in a freezer) and Fabian Miller had the foresight to stock up when the last batch was produced. This supply is running out and he is down to his last one hundred sheets. There may be a few individuals around the world who still have small stocks in storage but they are unlikely to become available and their archival status will be unpredictable. The Cibachrome process chemistry is if anything more difficult to store and although there are possible work arounds using monochrome developers and RA4 process bleach/fix, he has decided that when he completes his current project using his remaining stock, he will close his darkroom forever. A very well written account of the saga of the demise of Cibachrome/Ilfochrome is available online (Vincent 2018).Under the circumstances, Fabian Miller seems remarkably optimistic about the future. He has a large library of work already made and now has access to the skills required to work with this digitally. He stopped selling his Cibachrome originals some time ago to retain them for future projects and now only sells his work as Lambda Lightjet 'C'prints. Although his work has can appear very precise and controlled, his almost poetic relationship with the elemental forces which shape his connection to the land are still very apparent. He discovered very recently that the building in Bristol in which he had been brought up, was at one time owned by the publisher Joseph Cottle. In one of their well documented walking tours in the 1790's, William Wordsworth and his sister Dorothy along with Samuel Taylor Coleridge, stayed for several days with Cottle in Bristol, before crossing the Severn by ferry to travel up the Wye Valley to Tintern. It transpires that Dorothy Wordsworth slept in the bedroom, which in later years became the darkrooom in which he still remembers playing as a child, while his parents were printing their work. He is currently trying to work out if there is a way of using this in the generation of his next project.The importance of the darkroom and its role in the history of the photography which so dramatically transformed our interactions with the rest of the world, can perhaps only be fully appreciated by those who have experienced working in one. In an attempt to address this, Historic England spent several days with Fabian Miller in 2016, documenting his working process. He has also made arrangements with the V&A Museum that when he does close his darkroom, it will be dismantled and installed in their Photography section as a new exhibit for visitors to experience. His archive of darkroom notebooks will also be acquired by the museum to be made available to future researchers.In discussion following the lecture, he was asked if his experience of the demise of Cibachrome felt like coming to the end of a prolonged terminal illness. While agreeing that the end of Cibachrome was sad, he feels that the potential of digital photography is exciting and that it is probably still in its infancy, with much still to be explored. He feels that it is important that people understand that the invention of chemical photography was a seminal moment in world history and is encouraged by the fact that there are still people who are trying to keep it alive. He has been thinking for some time about the early experiments of Fox Talbot and his correspondence with John Herschel, wondering if there is any scope for further research into this source material for clues as to developing other new processes. Examples of Fabian Miller's work and links to interviews with him are available at the websites of the V&A Museum, the Ingleby Gallery and on his own site, at www.garryfabianmiller.com. Barnes M. and Fabian Miller G. (2005) 'Illumine'. Merell Publishing London.Barnes M. (2012) 'Shadow Catchers: Camera-less Photography'. Merell Publishing London.Fabian Miller G. (2010) 'The Colour of Time'. Black Dog Publishing, London.Fabian Miller G. (2019) 'Blaze" Ingleby, Edinburgh.Scully S (2007) 'The Walls of Aran' Thames and Hudson, London.https://www.inglebygallery.com/artists/51-garry-fabian-miller/overview/https://www.vam.ac.uk/collections/garry-fabian-miller
Vincent D (2018) A Brief History of Cibachrome Online at: https://douglasvincent.com/ilfochrome/history.html Accessed 11 February 2020
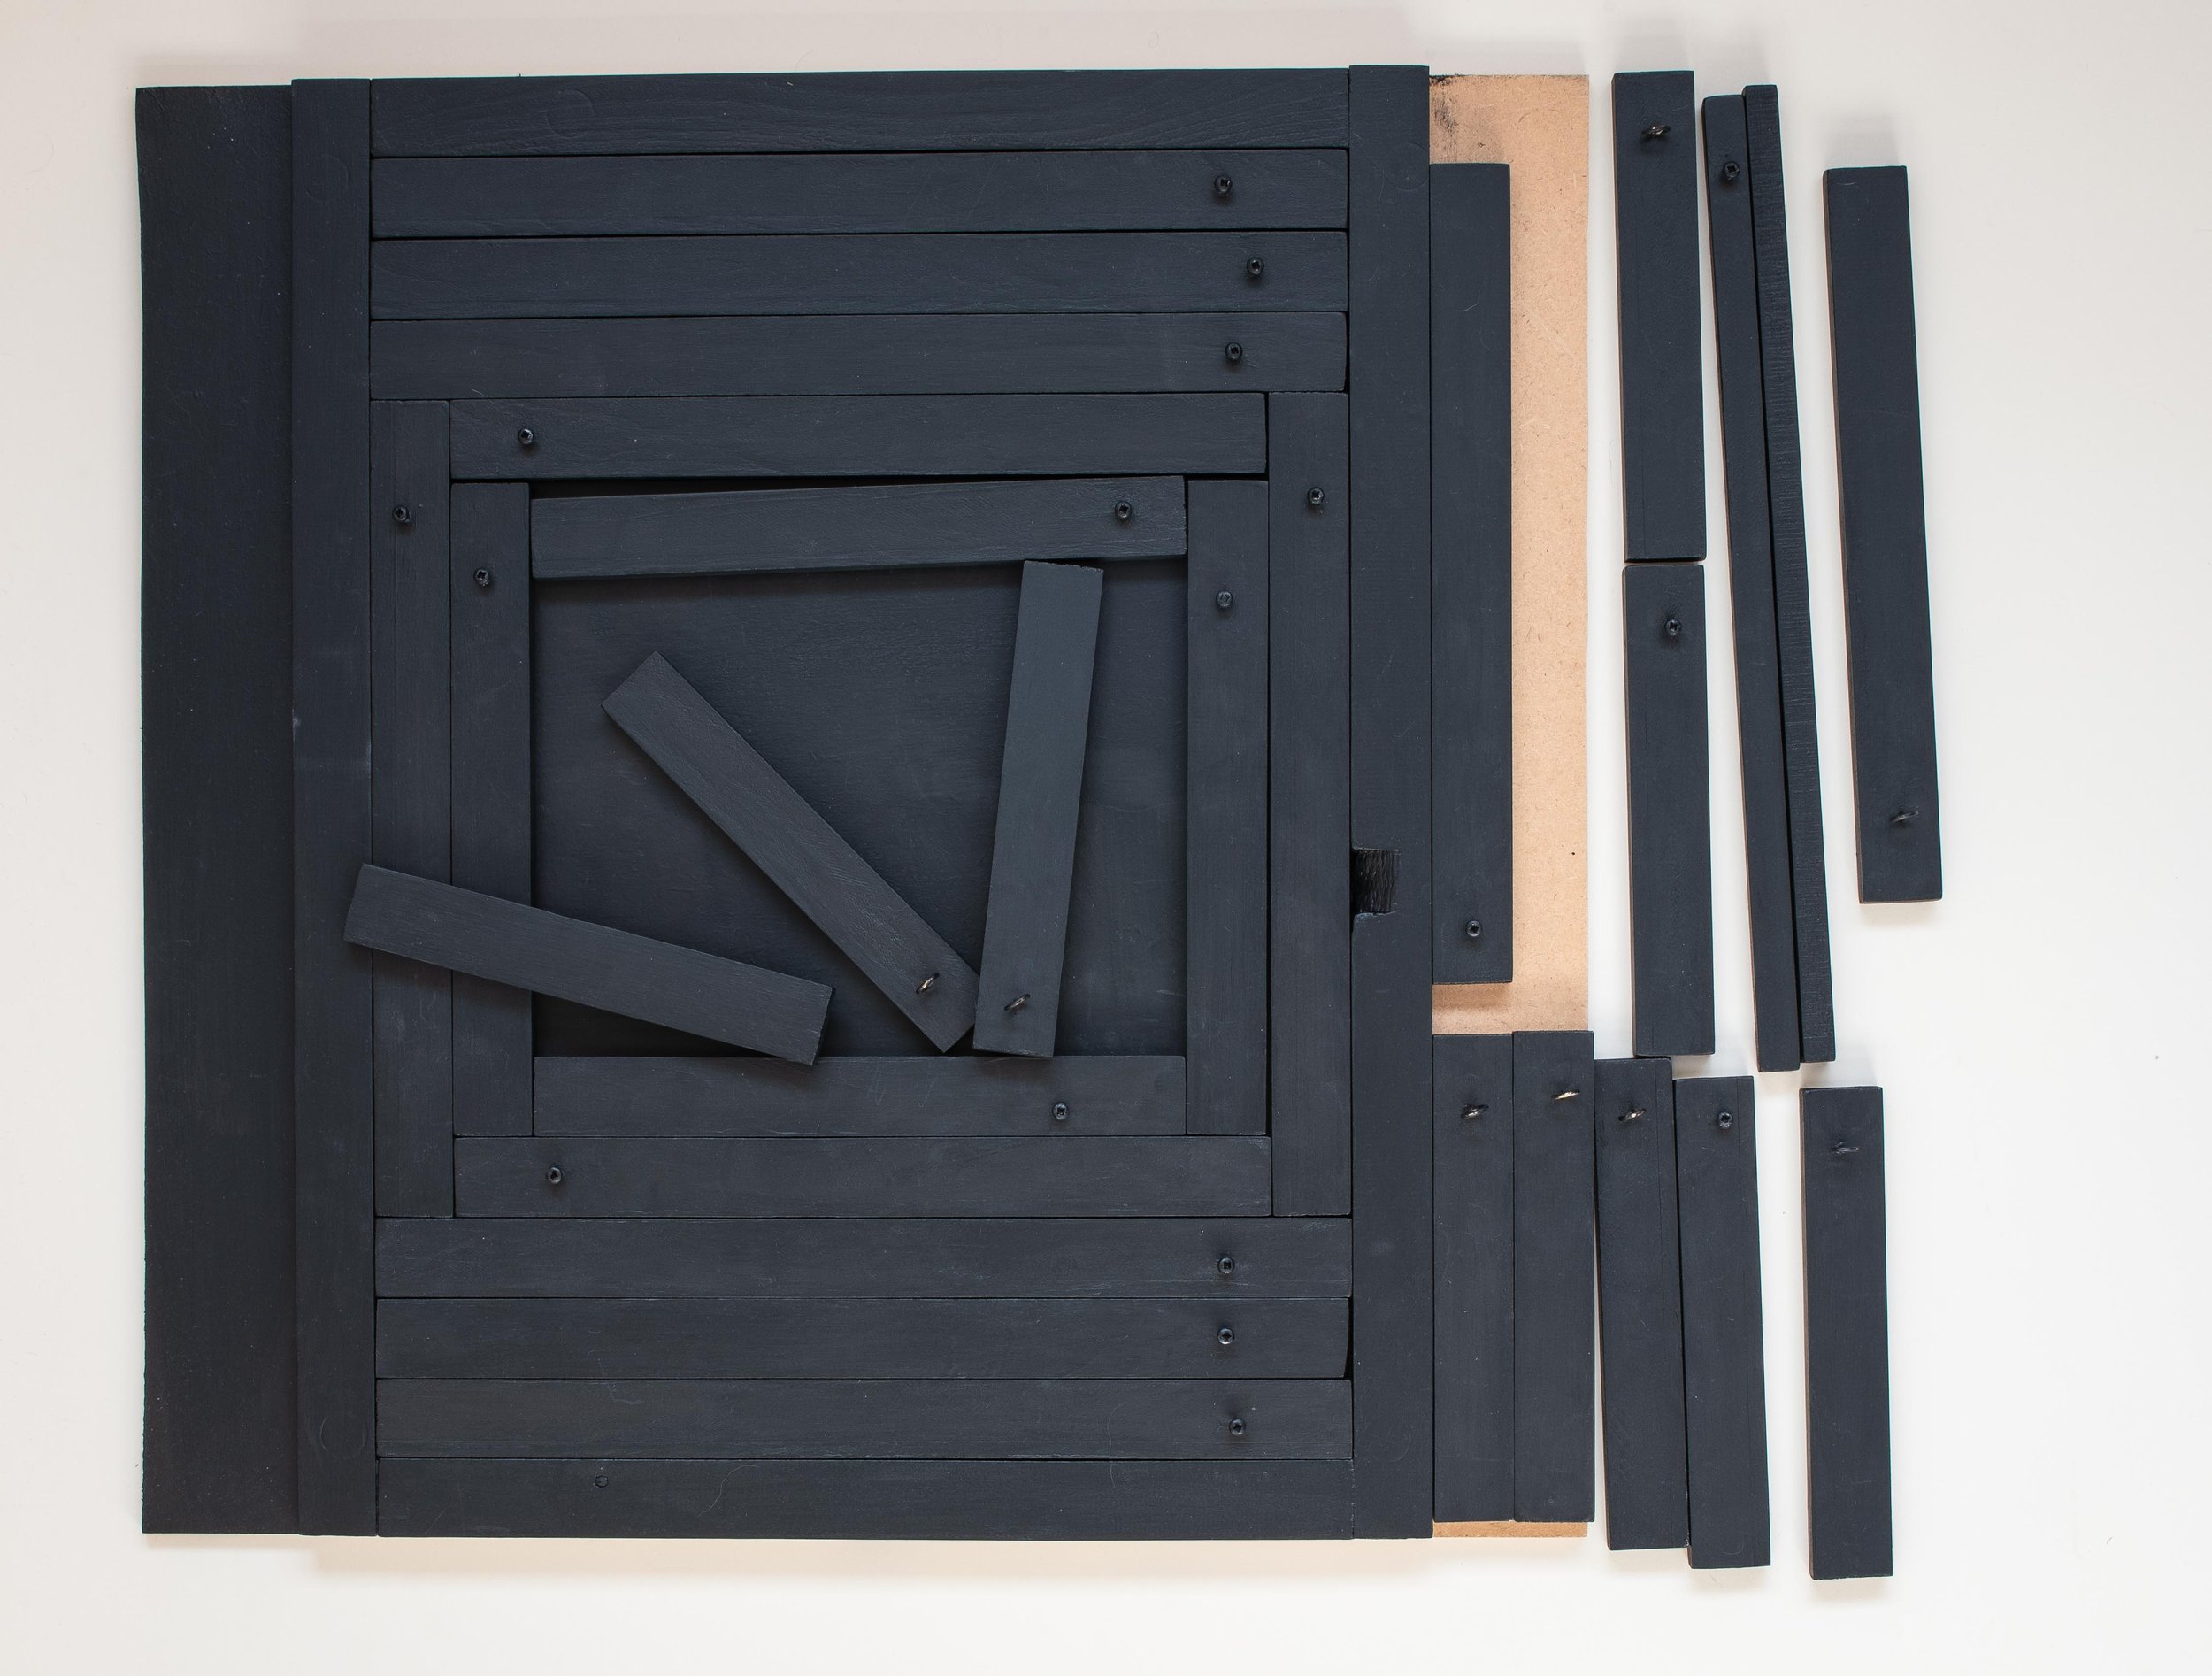 One inch is more precisely 25.3mm and allowing for the thickness of two coats of paint (and my very limited woodworking skill-set), the jigsaw of pieces fits together reasonably efficiently. A few small gaps are inevitable however and stray narrow shafts of light should get through unpredictably frequently enough to leave room for serendipity to have an effect. The paintwork needs a few more days to harden and then it will be time to get back in the darkroom to find out how well it works.
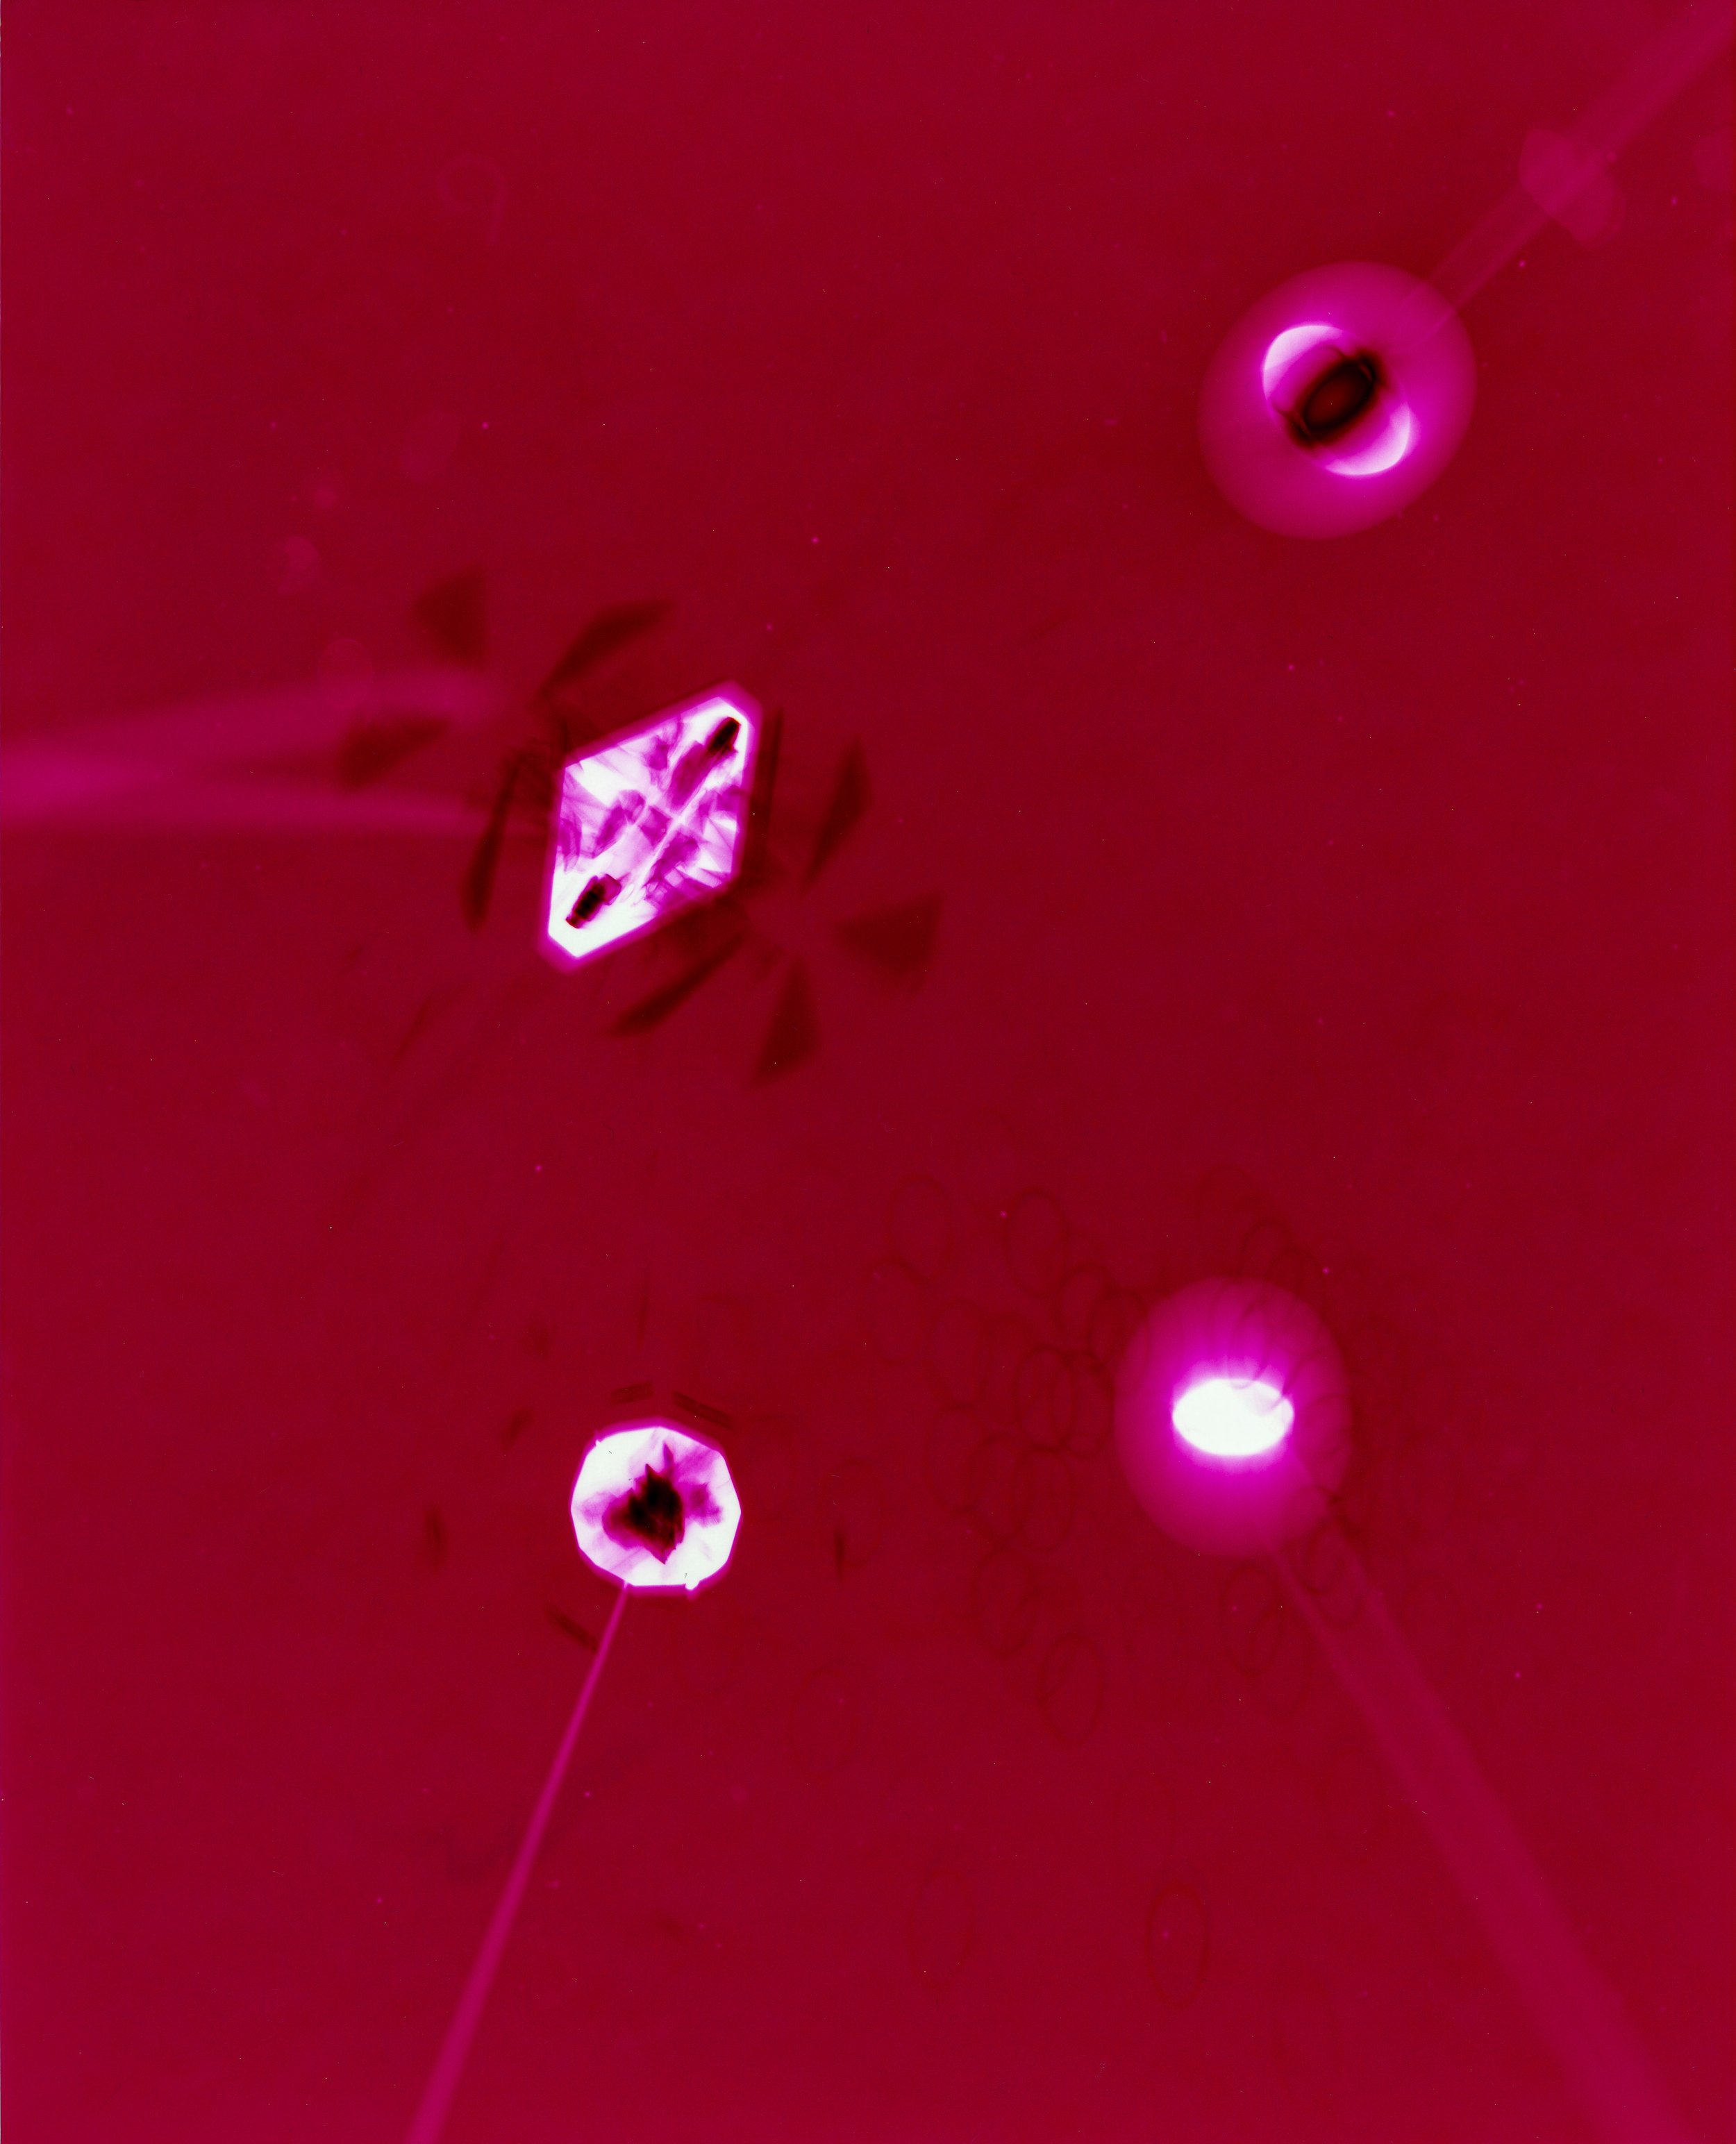
 I was attempting to produce an image with a single plastic insert, using a seemingly 'simple' makeshift masking technique with scrap cardboard, to make four separate exposures and create a futuristic grid like structure. I gave up when it proved impossible to align the plastic accurately in the dark and the cardboard masks kept slipping between exposures.
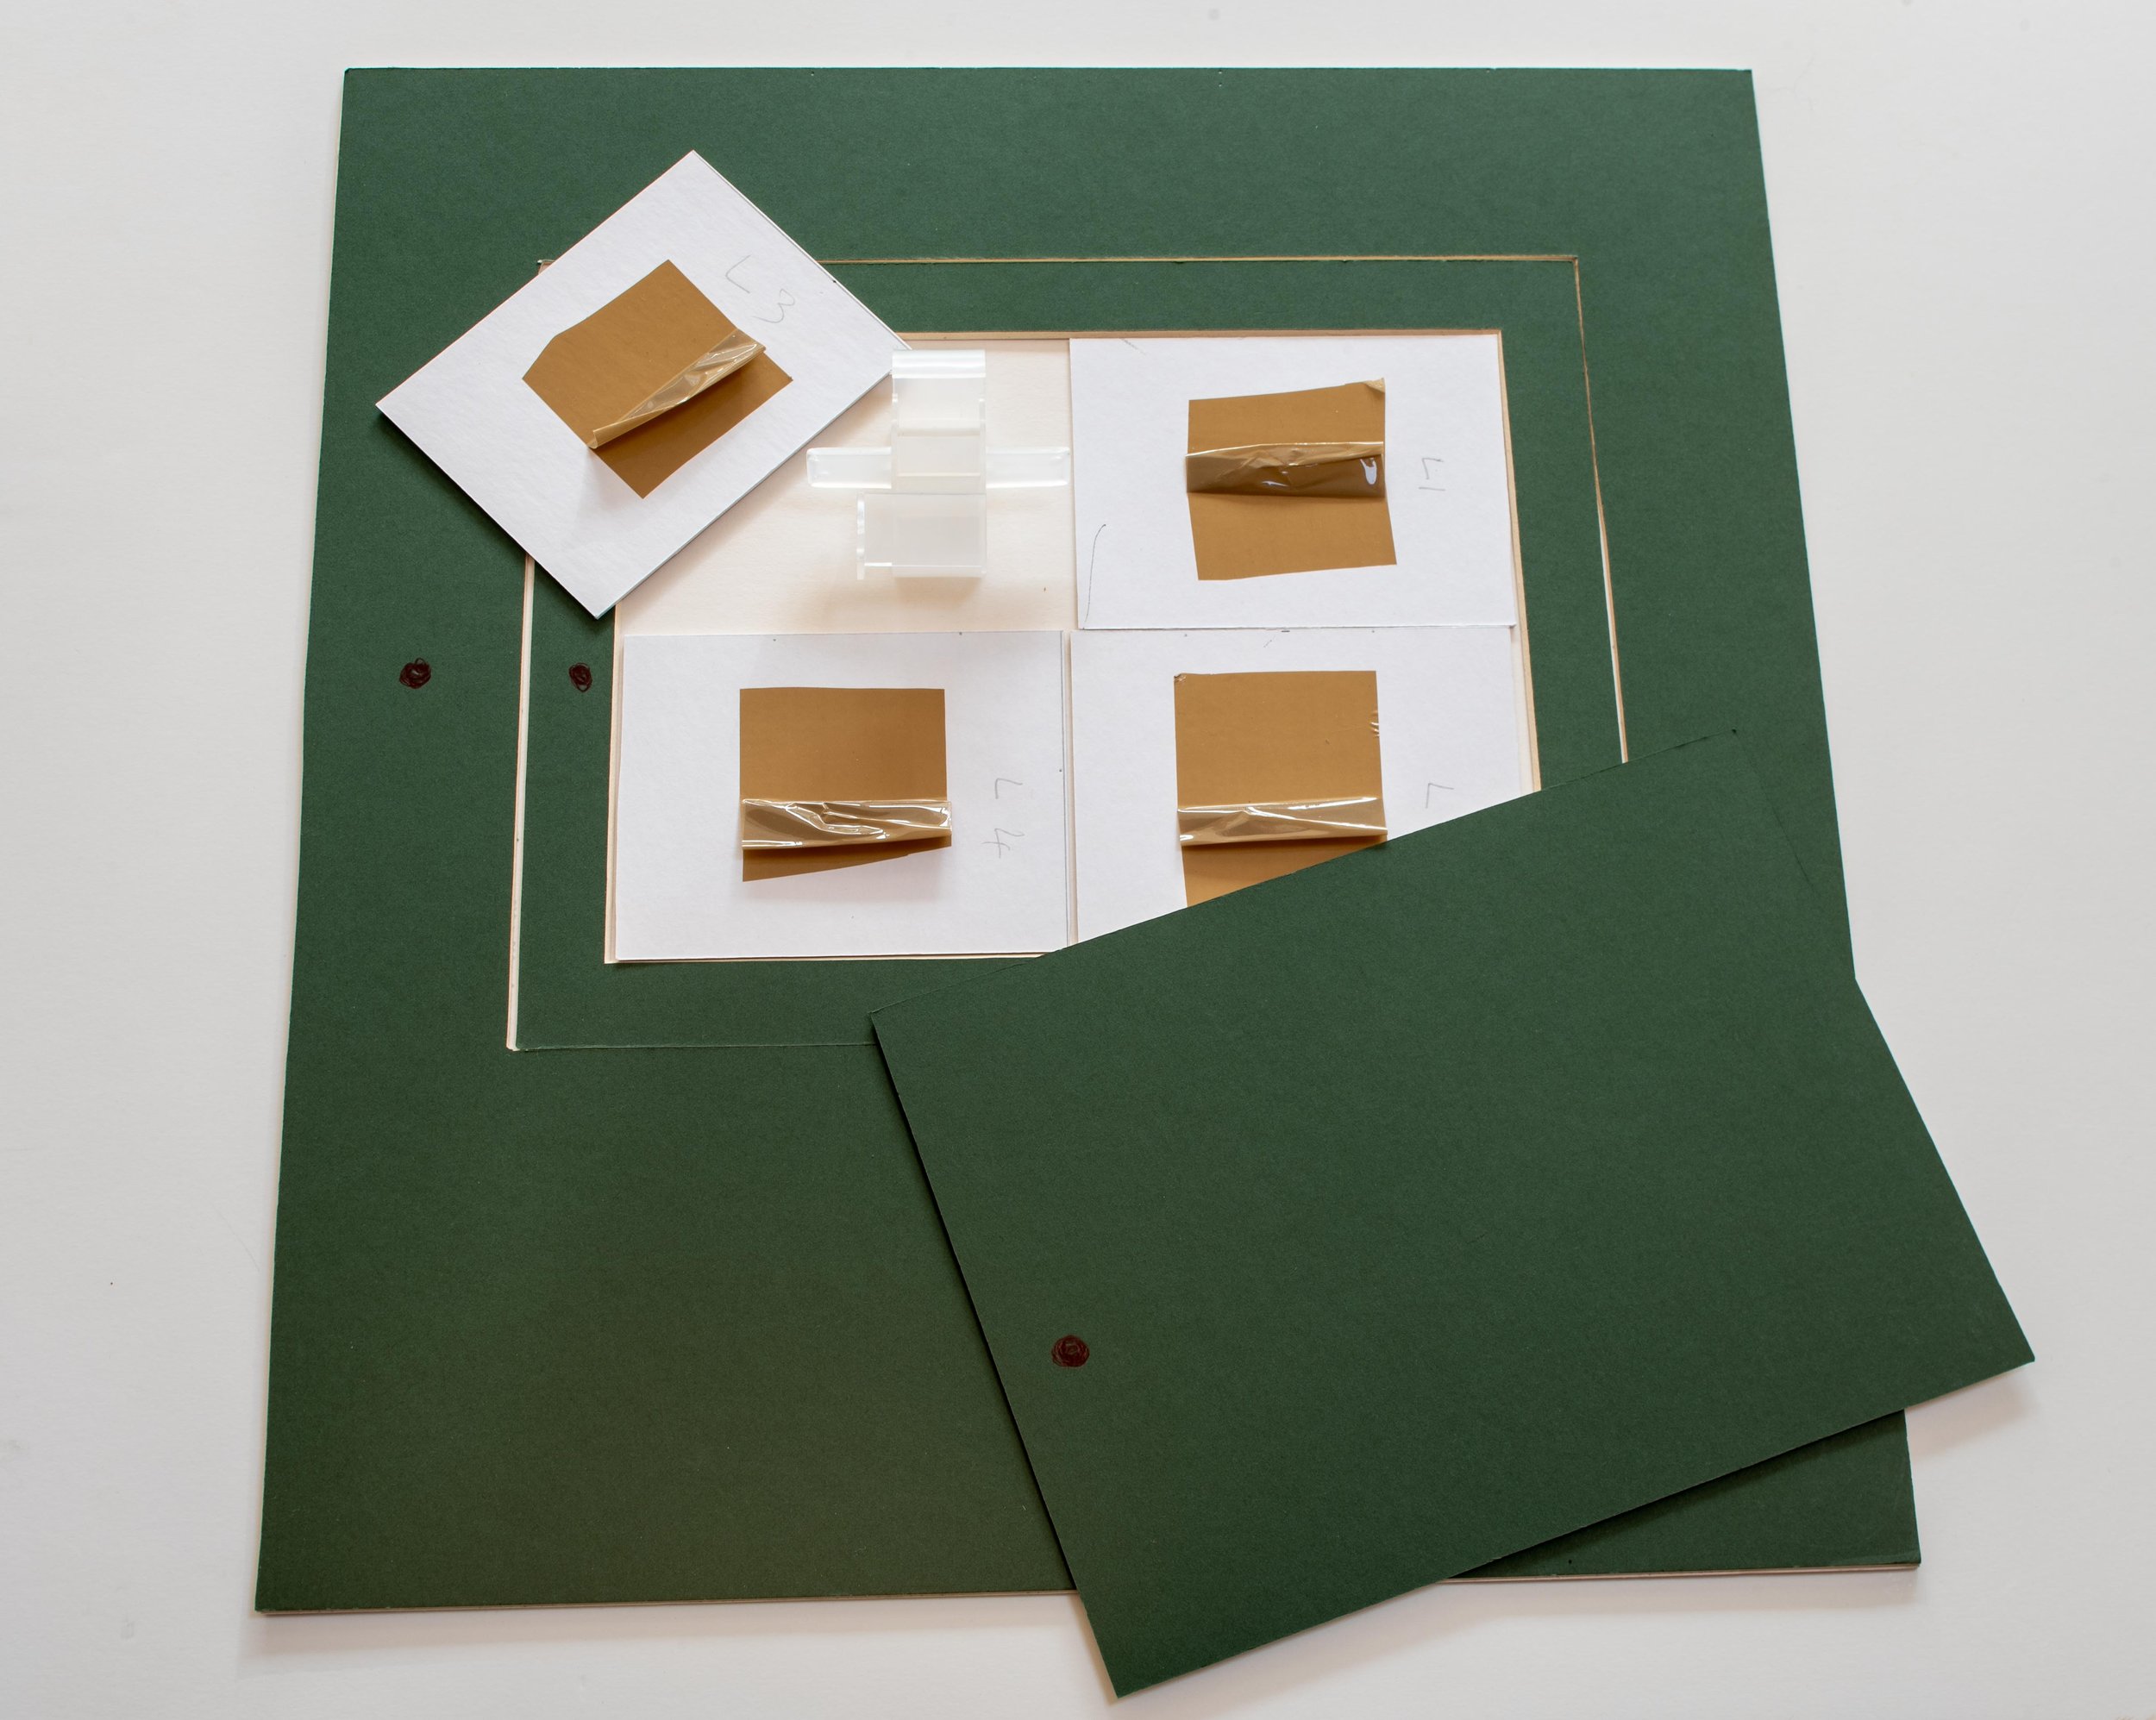 On reviewing the dried prints the following morning, I realised that the randomly overlapping placement of the card and the plastic insert had produced different levels of exposure (particularly in the bottom right hand corner), creating unexpected shapes with different tones of the same colour. The resulting image is almost certainly more interesting, than it would have been if the technique had worked 'correctly' and I now know (roughly) how to repeat the effect.Psychoanalysis has identified that the freedom to be creative is dependent on the ability to enter a state of mind which is similar to that found in children (and adults) engaging in uninhibited play (Winnicott, 1971). Is it possible to create these happy accidents or do we have to keep working, trying to find ways around the limitations of our processes and materials and hope that we can recognise them when they eventually come along?Belt A F (2008). 'The Elements of Photography'.
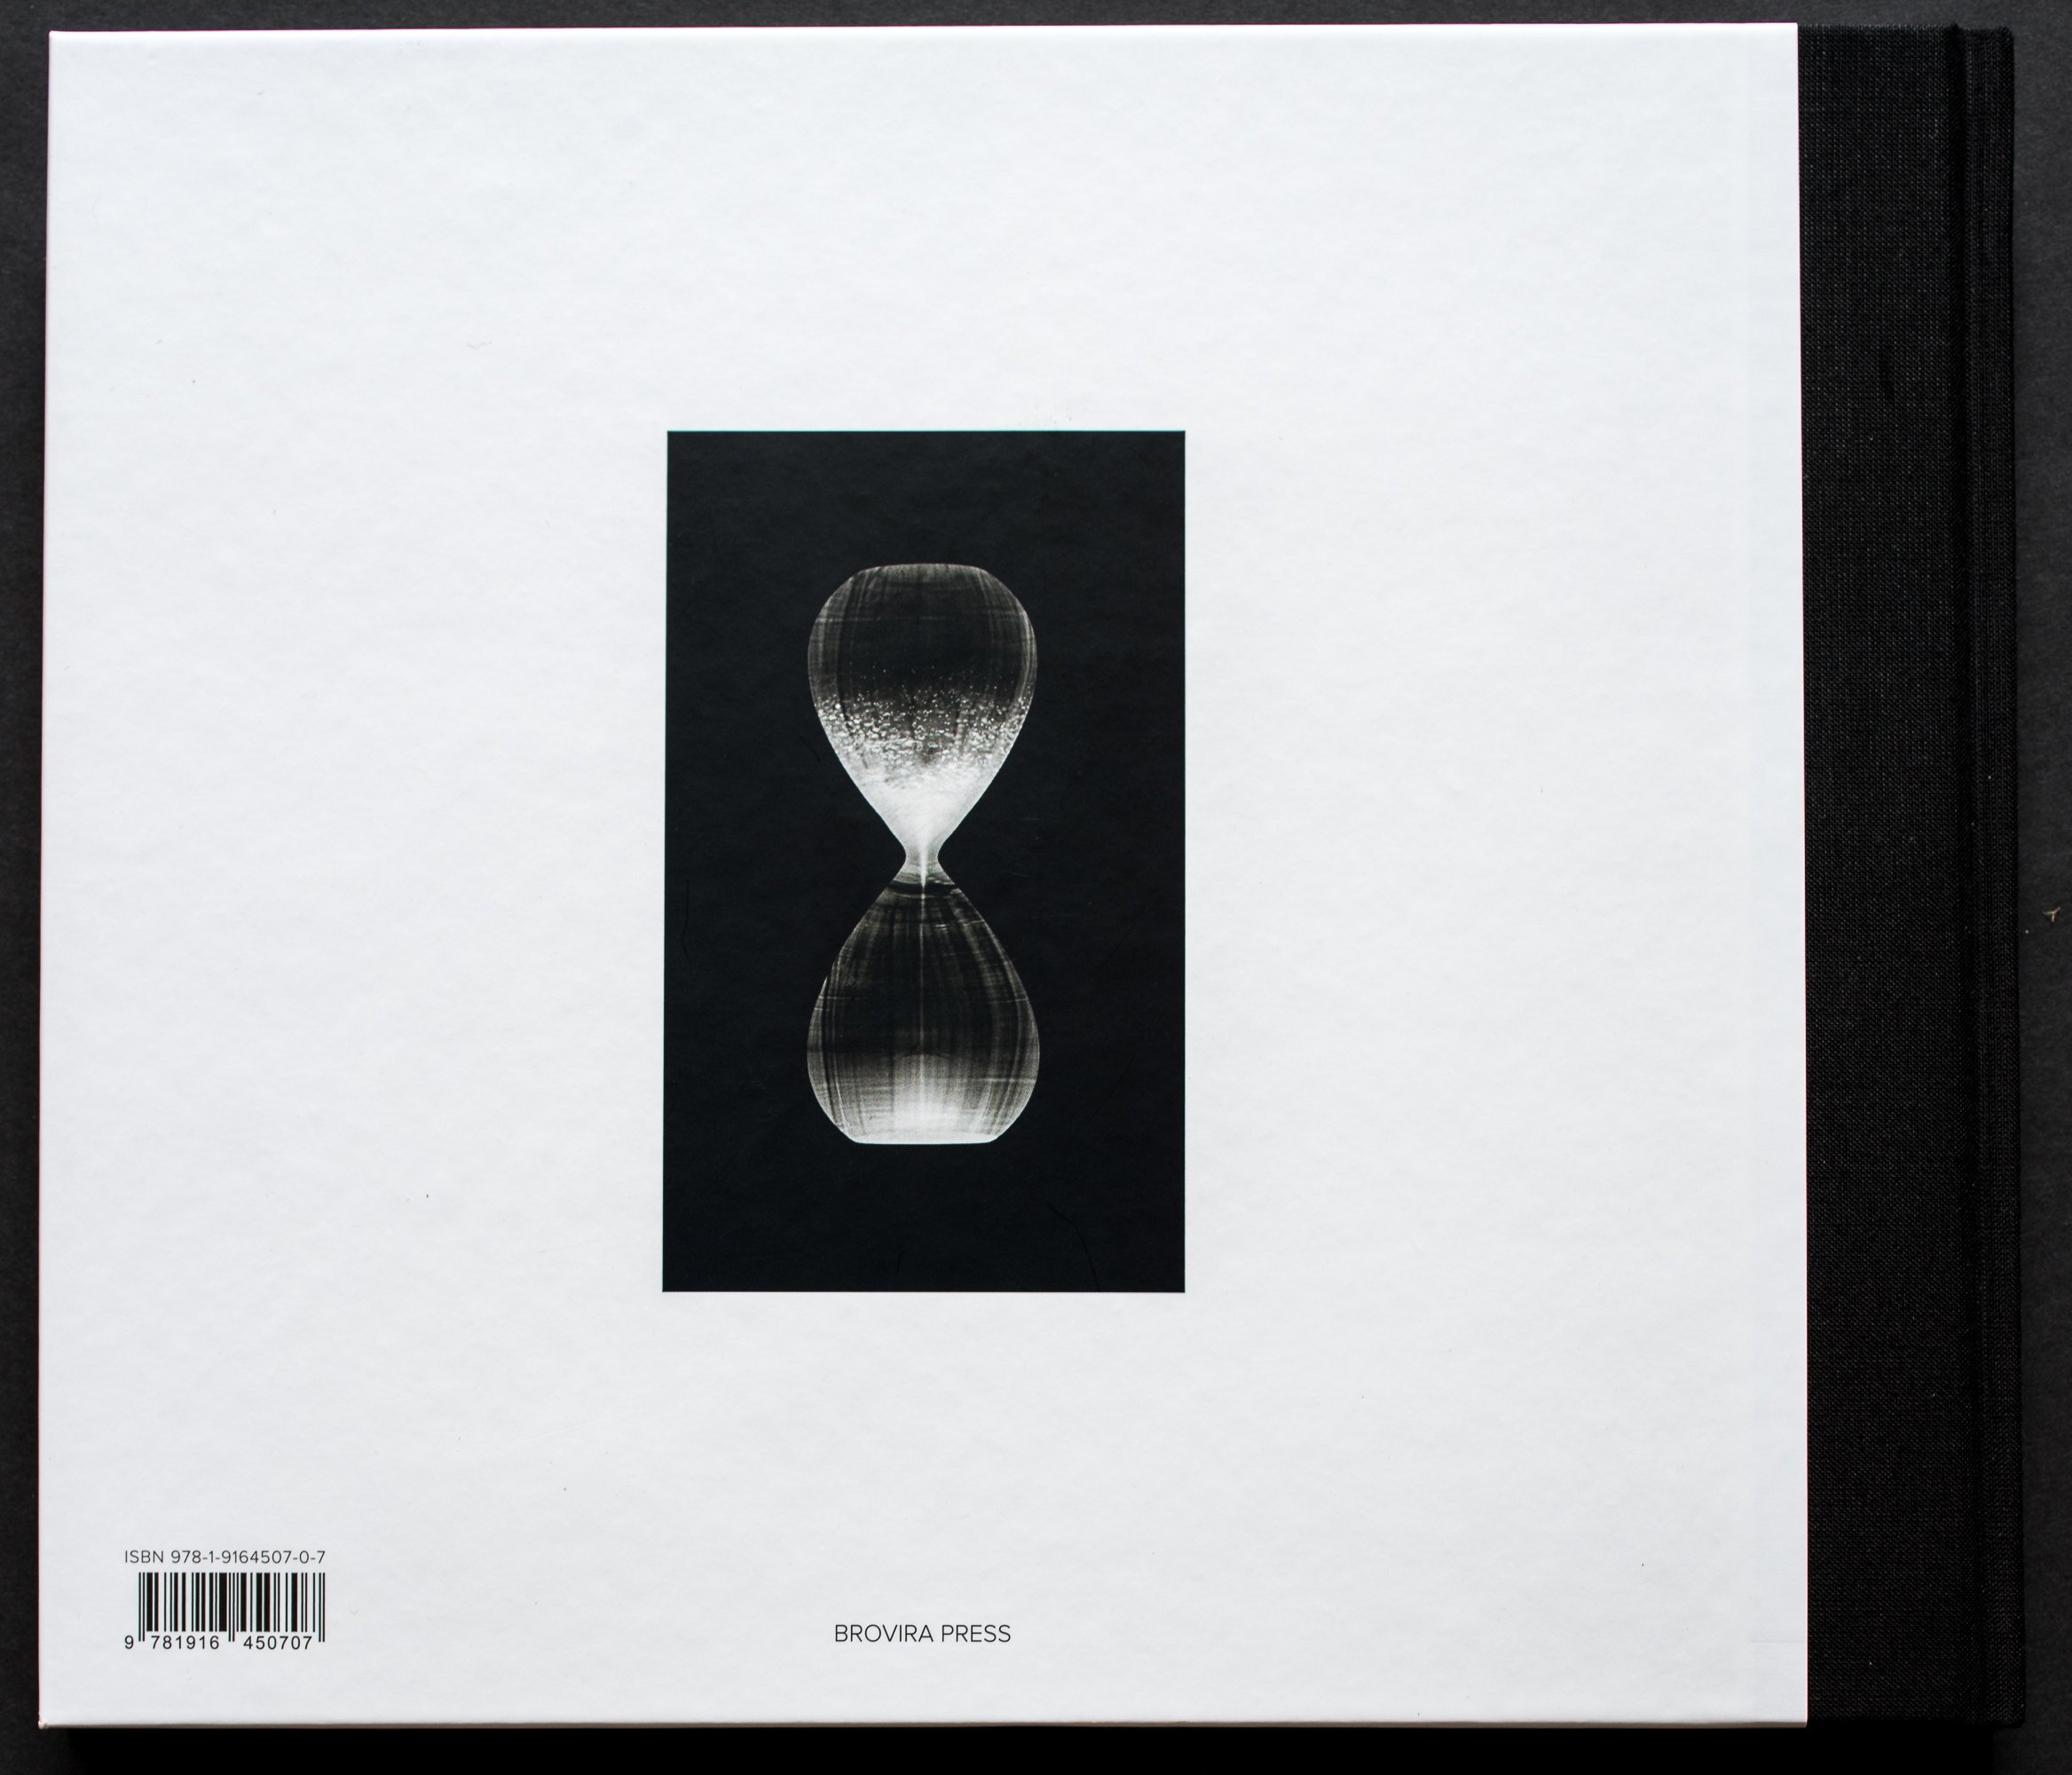 The end result is 'Obsolete and Discontinued' published by Brovira Press in 2018 and containing more than eighty plates, contributed by sixty individual darkroom workers from around the world. The selection consists of a wide range of abstract and figurative images using various historical and contemporary darkroom techniques including 'straight' lens based silver gelatin prints, lith prints, photograms, chemigrams, lumen prints, mordencage (emulsion lifts) and images made with pinhole cameras or from wet plate collodion and paper negatives. In spite of the diversity of the authors, subject matter and techniques, by concentrating on the materials used the final selection has produced a surprisingly cohesive feel to this set of highly original images, demonstrating the enthusiasm of the contributors for working with the richness of the quality obtainable from these aged papers.One of the contributors has commented that, 'when you work in the darkroom, you feel you are working with science and with nature; I feel a greater sense of ownership when I work with analogue processes' (Norris 2018), a feeling which I believe most of us who have experienced this environment would share. Although the colour papers and chemistry I have been using for my most recent work are not (as yet) obsolete, in my initial experiments in making monochrome photograms I used out of date silver gelatin papers, passed on to me by a colleague who had dismantled his darkroom, having converted to a digital workflow. I can closely relate to the aesthetic gratification derived from working with analogue materials but while the reasons for this are difficult to determine, the diversity and quality of the images this book are testament to my belief that this amounts to much more than simple nostalgia.While the published photobook was reproduced digitally (to a very high standard), the original prints were used in a touring exhibition, shown in Barcelona and Cologne in 2016 and London in 2018.Strand, Paul: as quoted in preface to 'Obsolete and Discontinued', Ed. Crawford, M., Brovira Press, London 2018.Norris, Yaz: collaborator's quote in 'Obsolete and Discontinued', Ed. Crawford, M., Brovira Press, London, p13-14, 2018.See also www.obsolete-discontinued.com
 In these images, I have also tried to consider the design elements manufacturers incorporate to improve the effectiveness of the protection the packaging provides as well as making them more aesthetically attractive to potential customers. Although the images have been scanned for inclusion in this post, the original images were all produced using RA4 chemistry with colour photographic papers, sometimes using multiple exposures . The colours in some have been produced entirely by manipulation of the enlarger filters as in the image above but in others, the inherent colour of the materials has also been utilised - the image below was made using a turquoise blue container lid (the process resulting the in reverse complementary colour in the image)
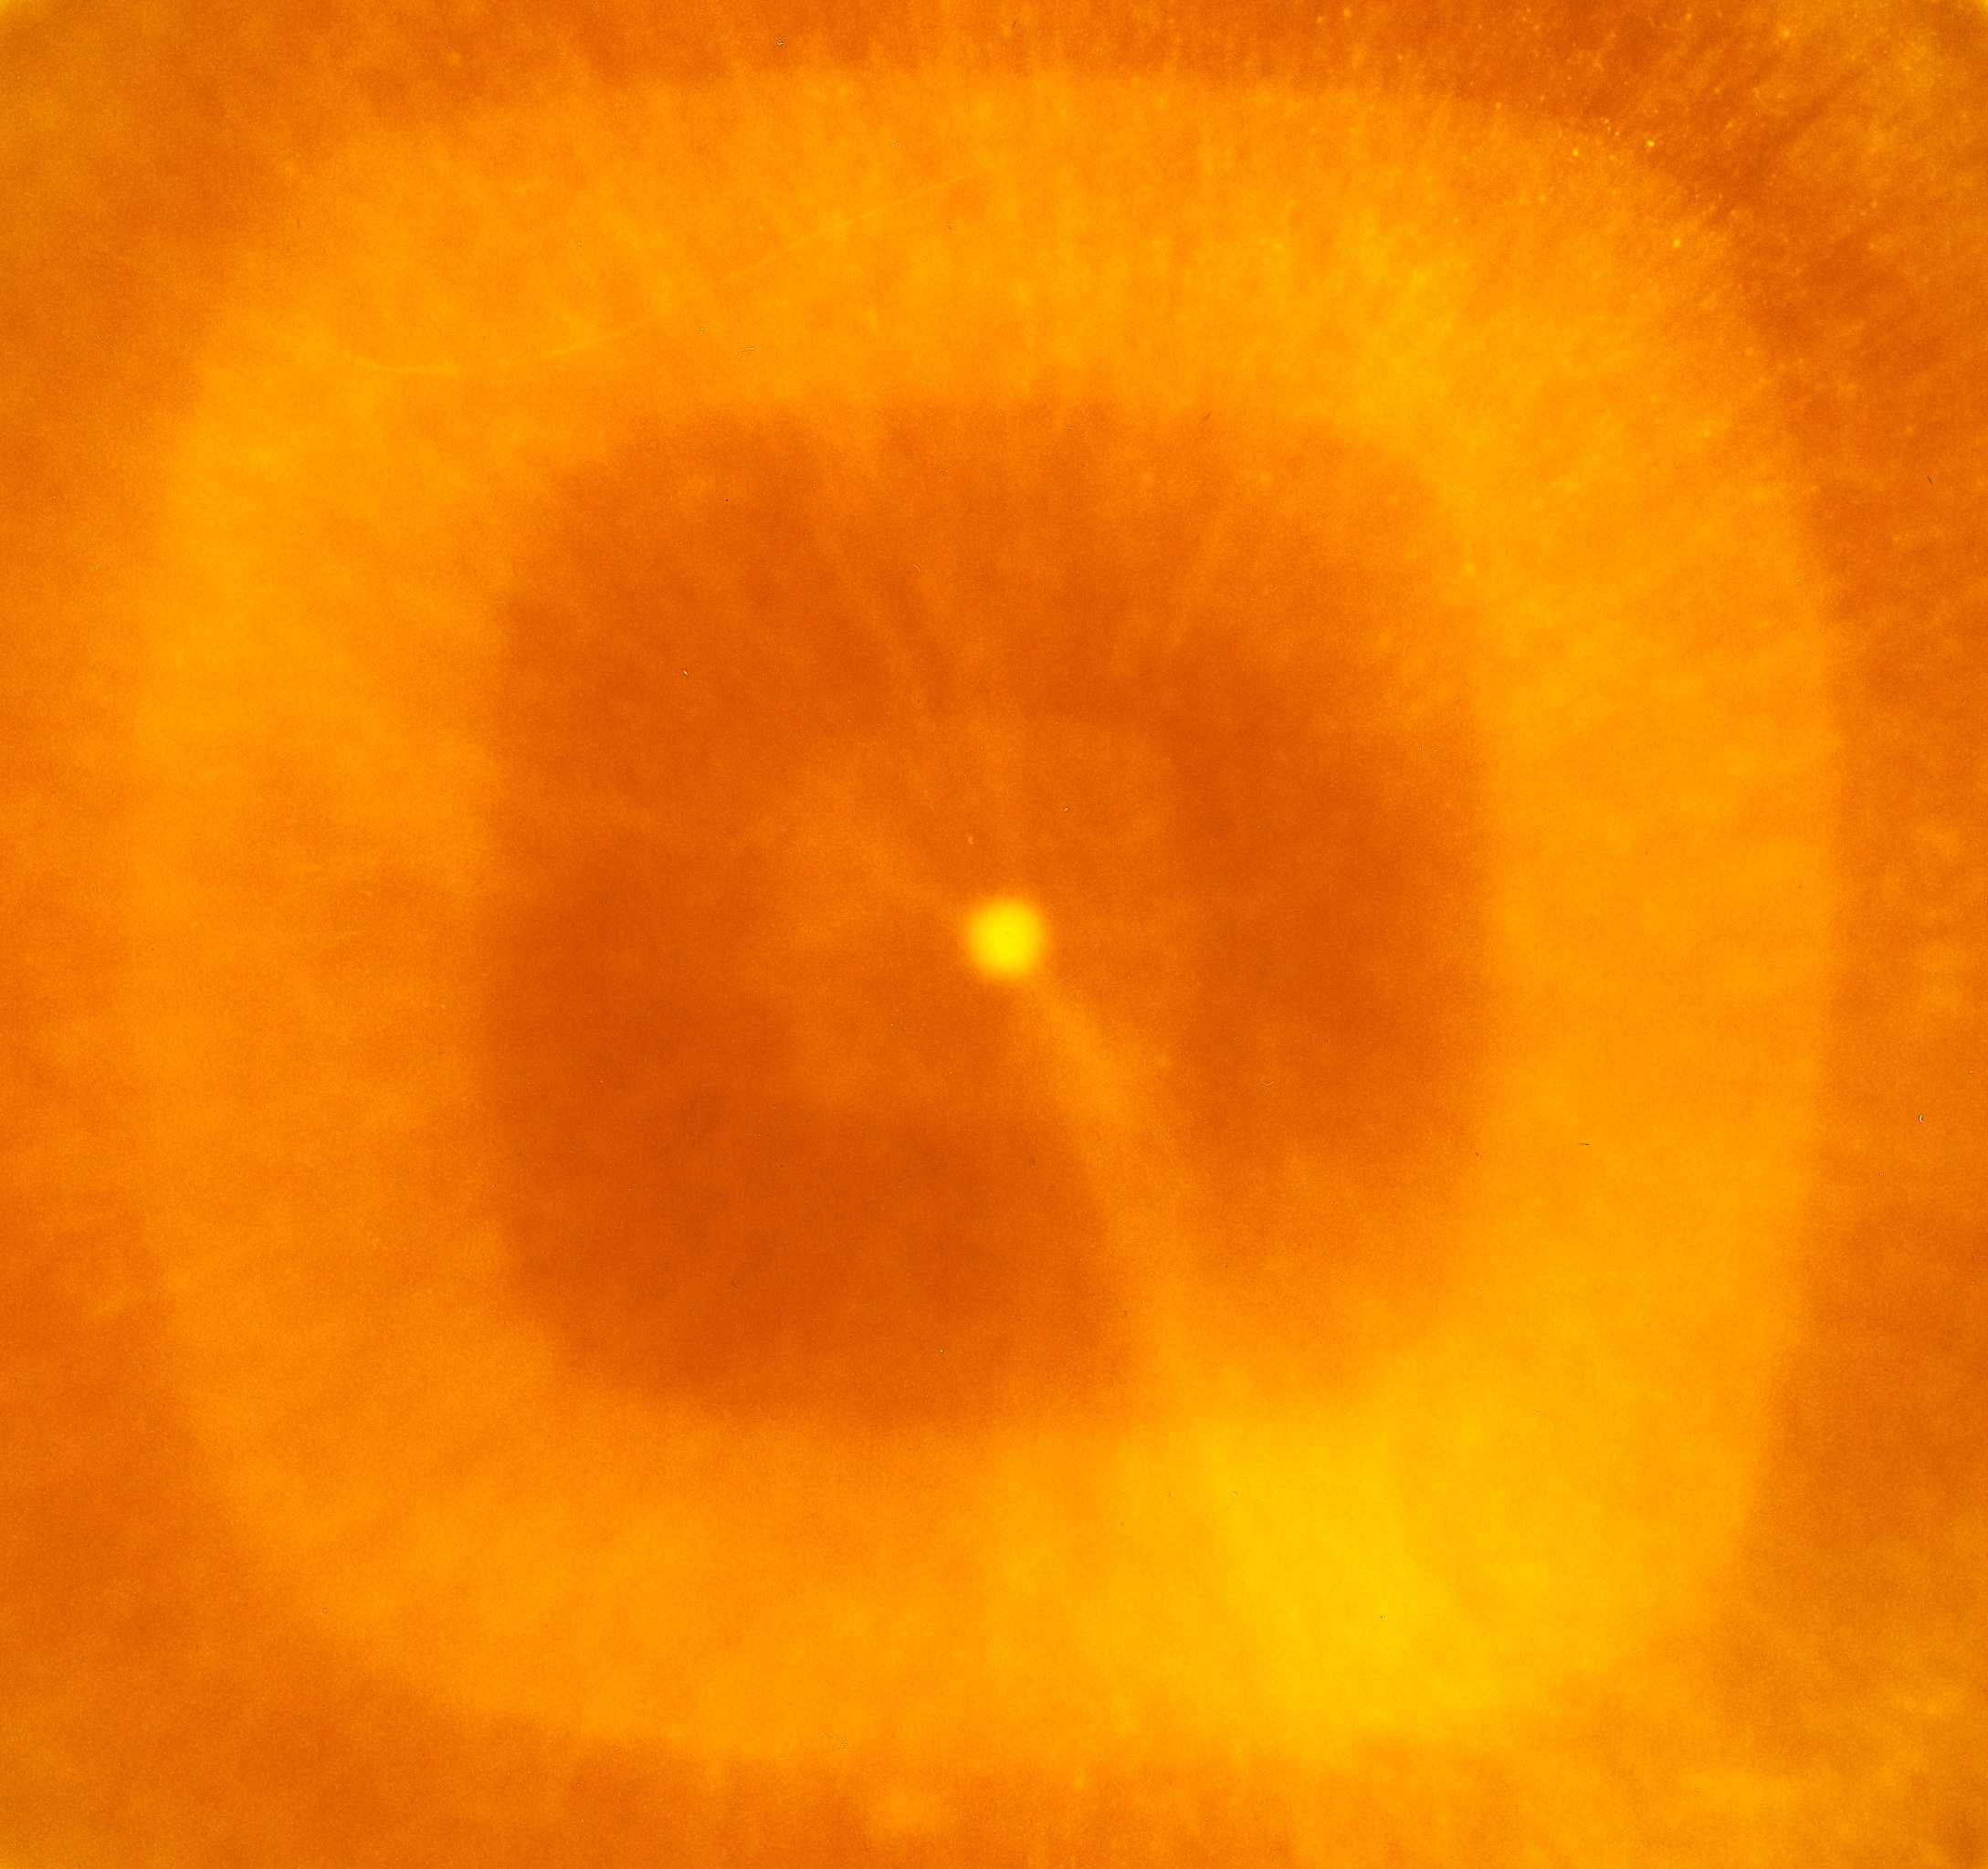 The analogue process used to produce the images could also be considered as a form of 'recycled' technology. Although still in use, the range of colour papers and chemistry is now very limited and most of those available are packaged in quantities for commercial automated machine processors rather than small scale or home use. The range and depth of colour which can be obtained is very encouraging - further experimentation is called for.
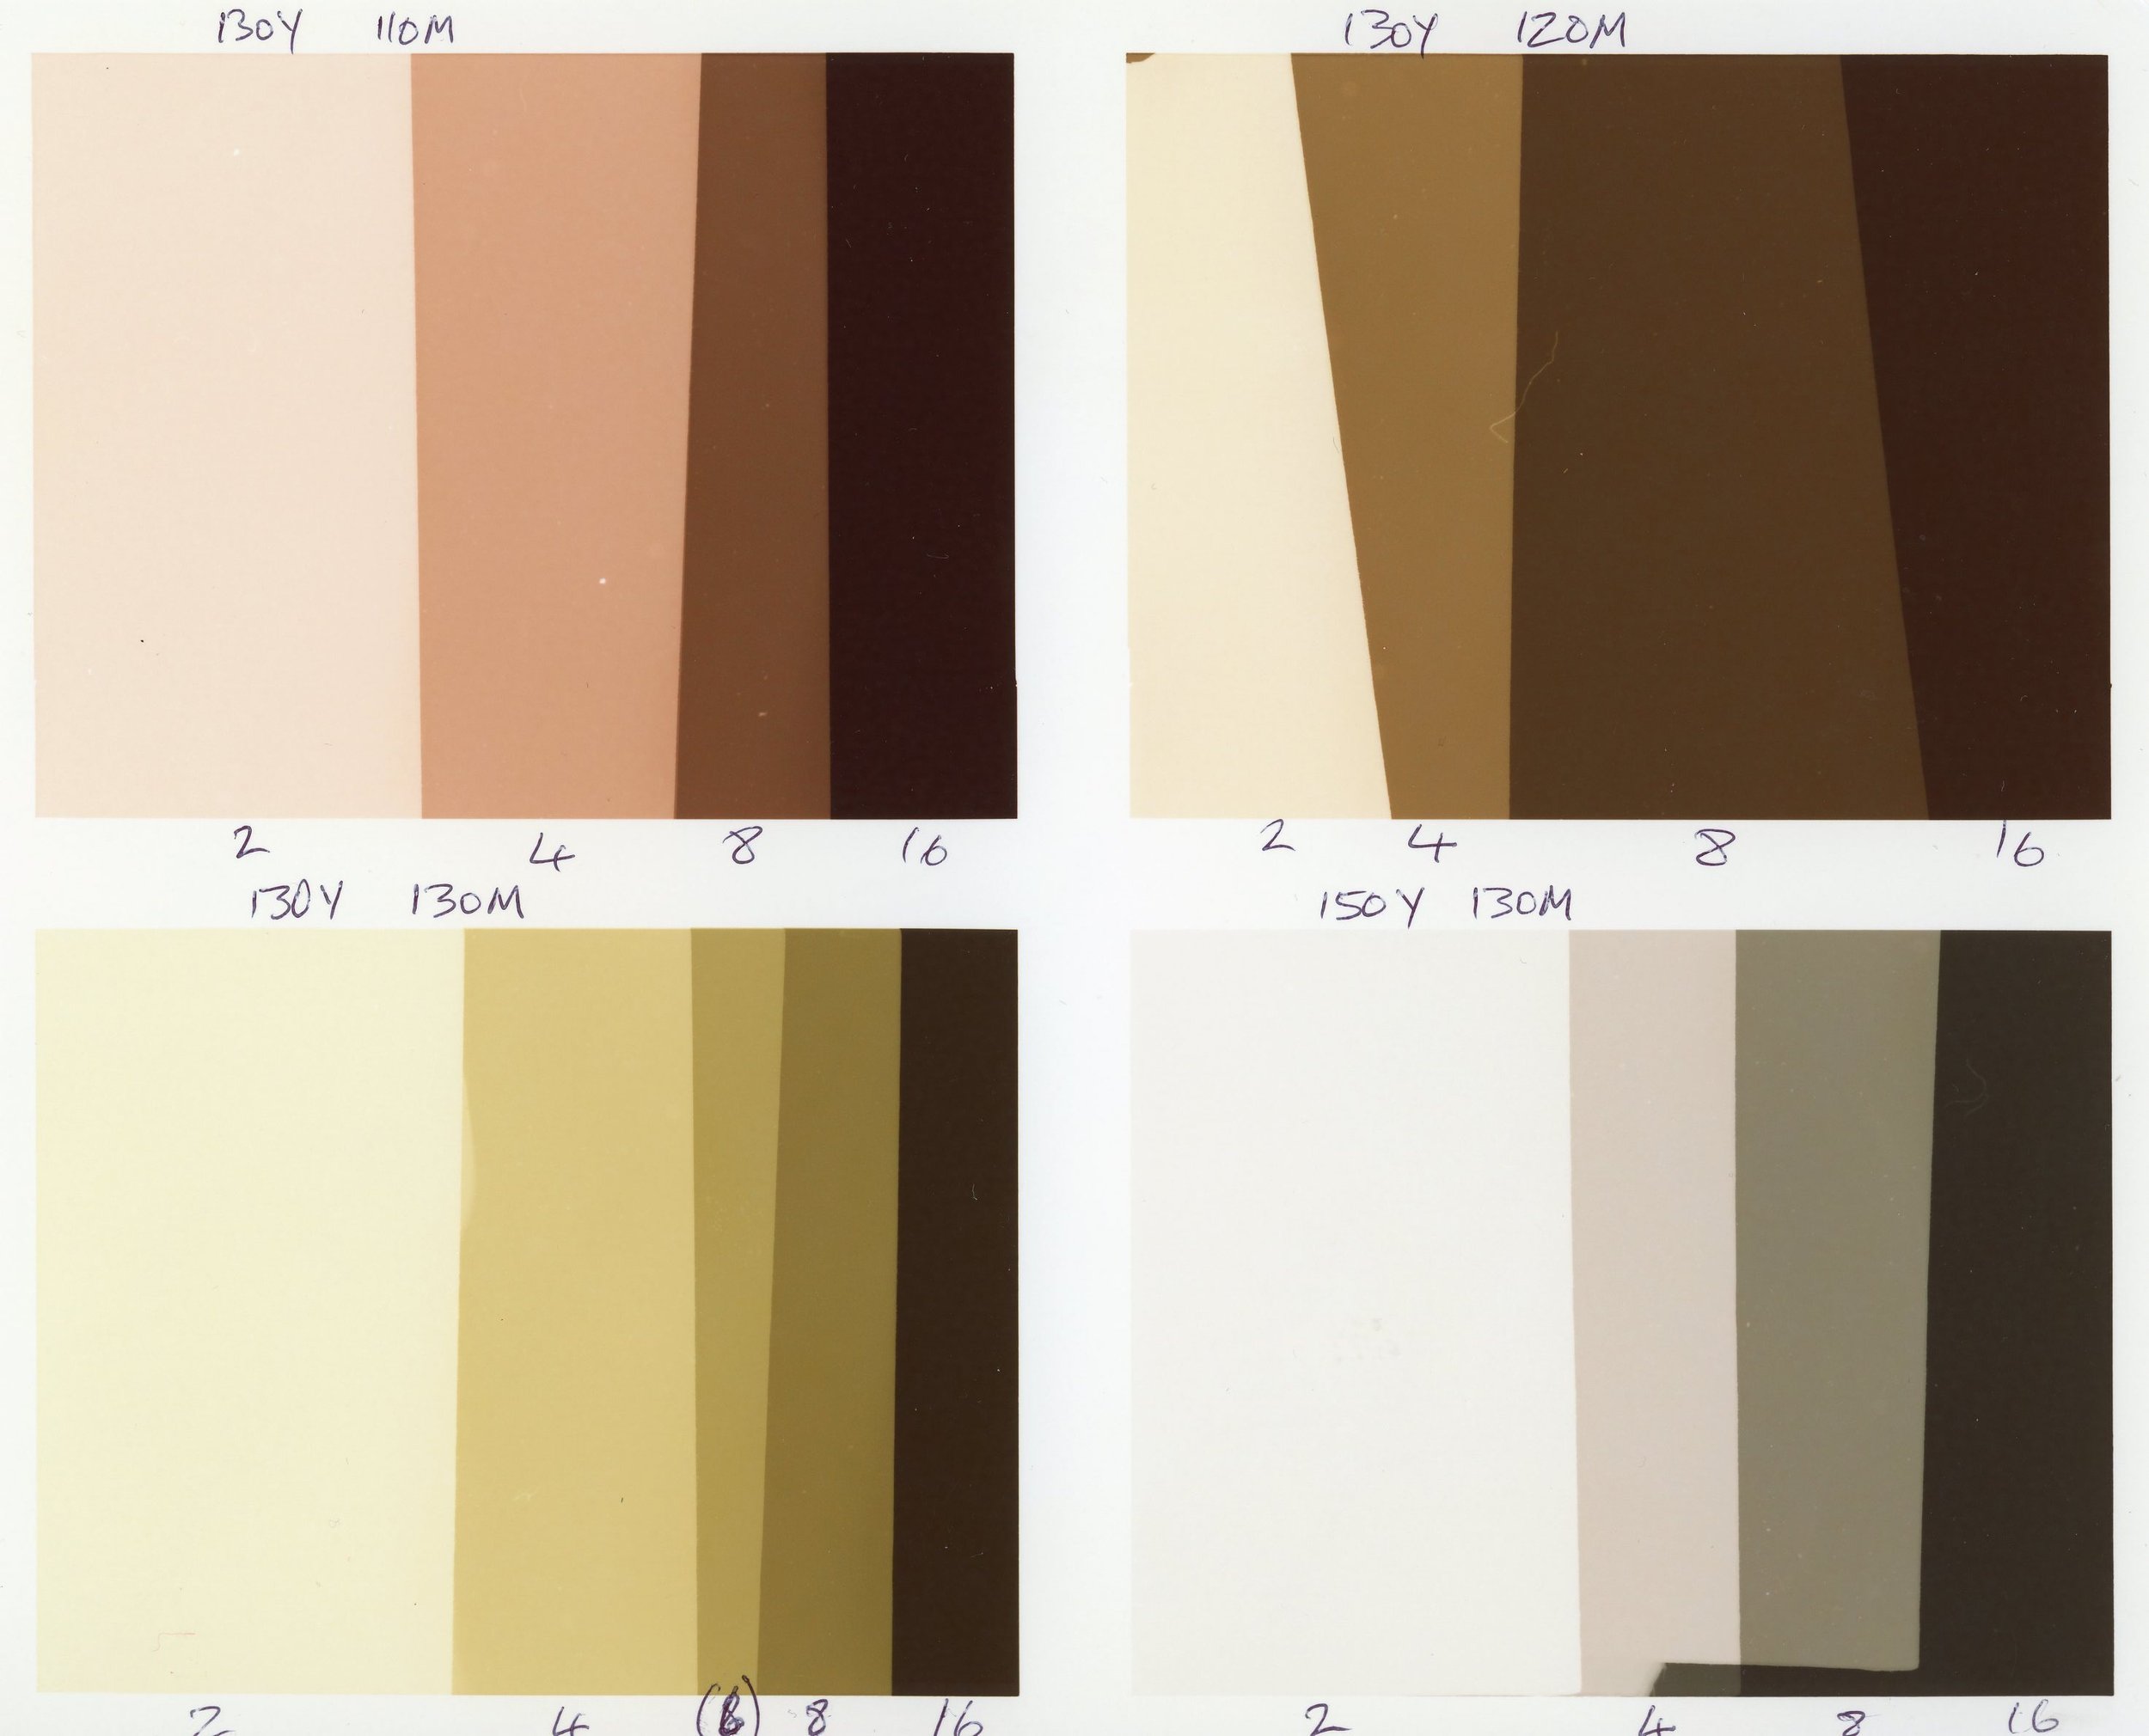
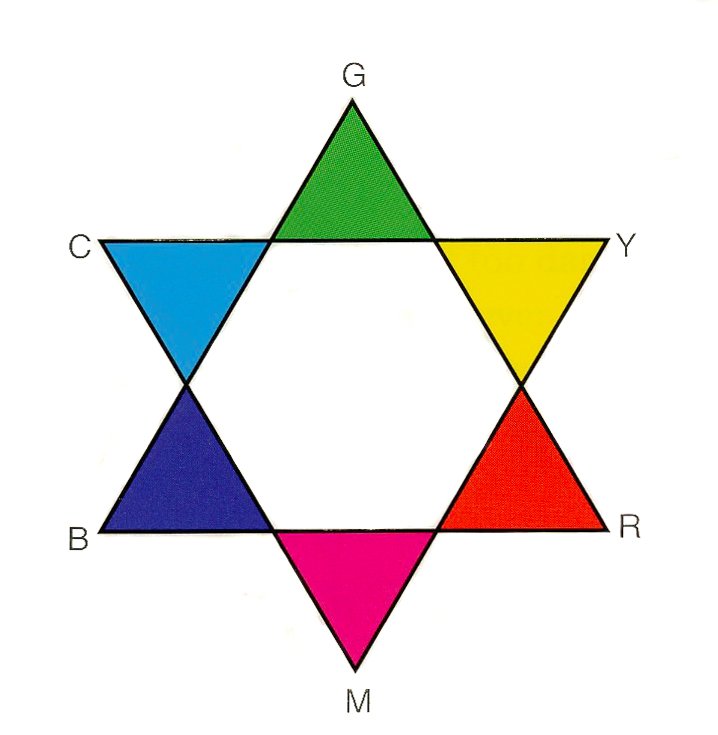 Getting to this stage proved more challenging than initially expected and I found it difficult to think in terms of inverted colours as well as inverted tones. For example, correction for a yellow cast in a print, requires the addition of its' complementary colour i.e. blue (Fig 1. above). The colour produced on the print is however the inverse of colour of the light projected on it so confusingly, to correct a yellow cast it is necessary increase by filtration, the amount of yellow emitted by the light source (see Fig. 2 below). When researching this I realised with regret that I had thrown out all my basic "how to" photography books which at the time seemed redundant but would have contained all this information. I also discovered that in most of the current versions of these books available in the college library, the sections on colour printing in the darkroom have been largely replaced with information on digital imaging but I found a limited amount of what I needed in "Langford's Advanced Photography" (8th Edition).
 Out of the box, colour papers have a cyan coloured coating on the surface which acts as an anti-halation layer and presumably at least partially corrects for the orange mask present on the surface of most colour negative films. My plan is to attempt to make colour photograms and am not using negatives so the cyan coating produced a very strong reddish brown cast on my initial tests (Test print 1) and after experimentation I found that much stronger yellow and magenta filtration than anticipated was needed to achieve anything close to neutral greys (bottom (R) image on Test print 7).
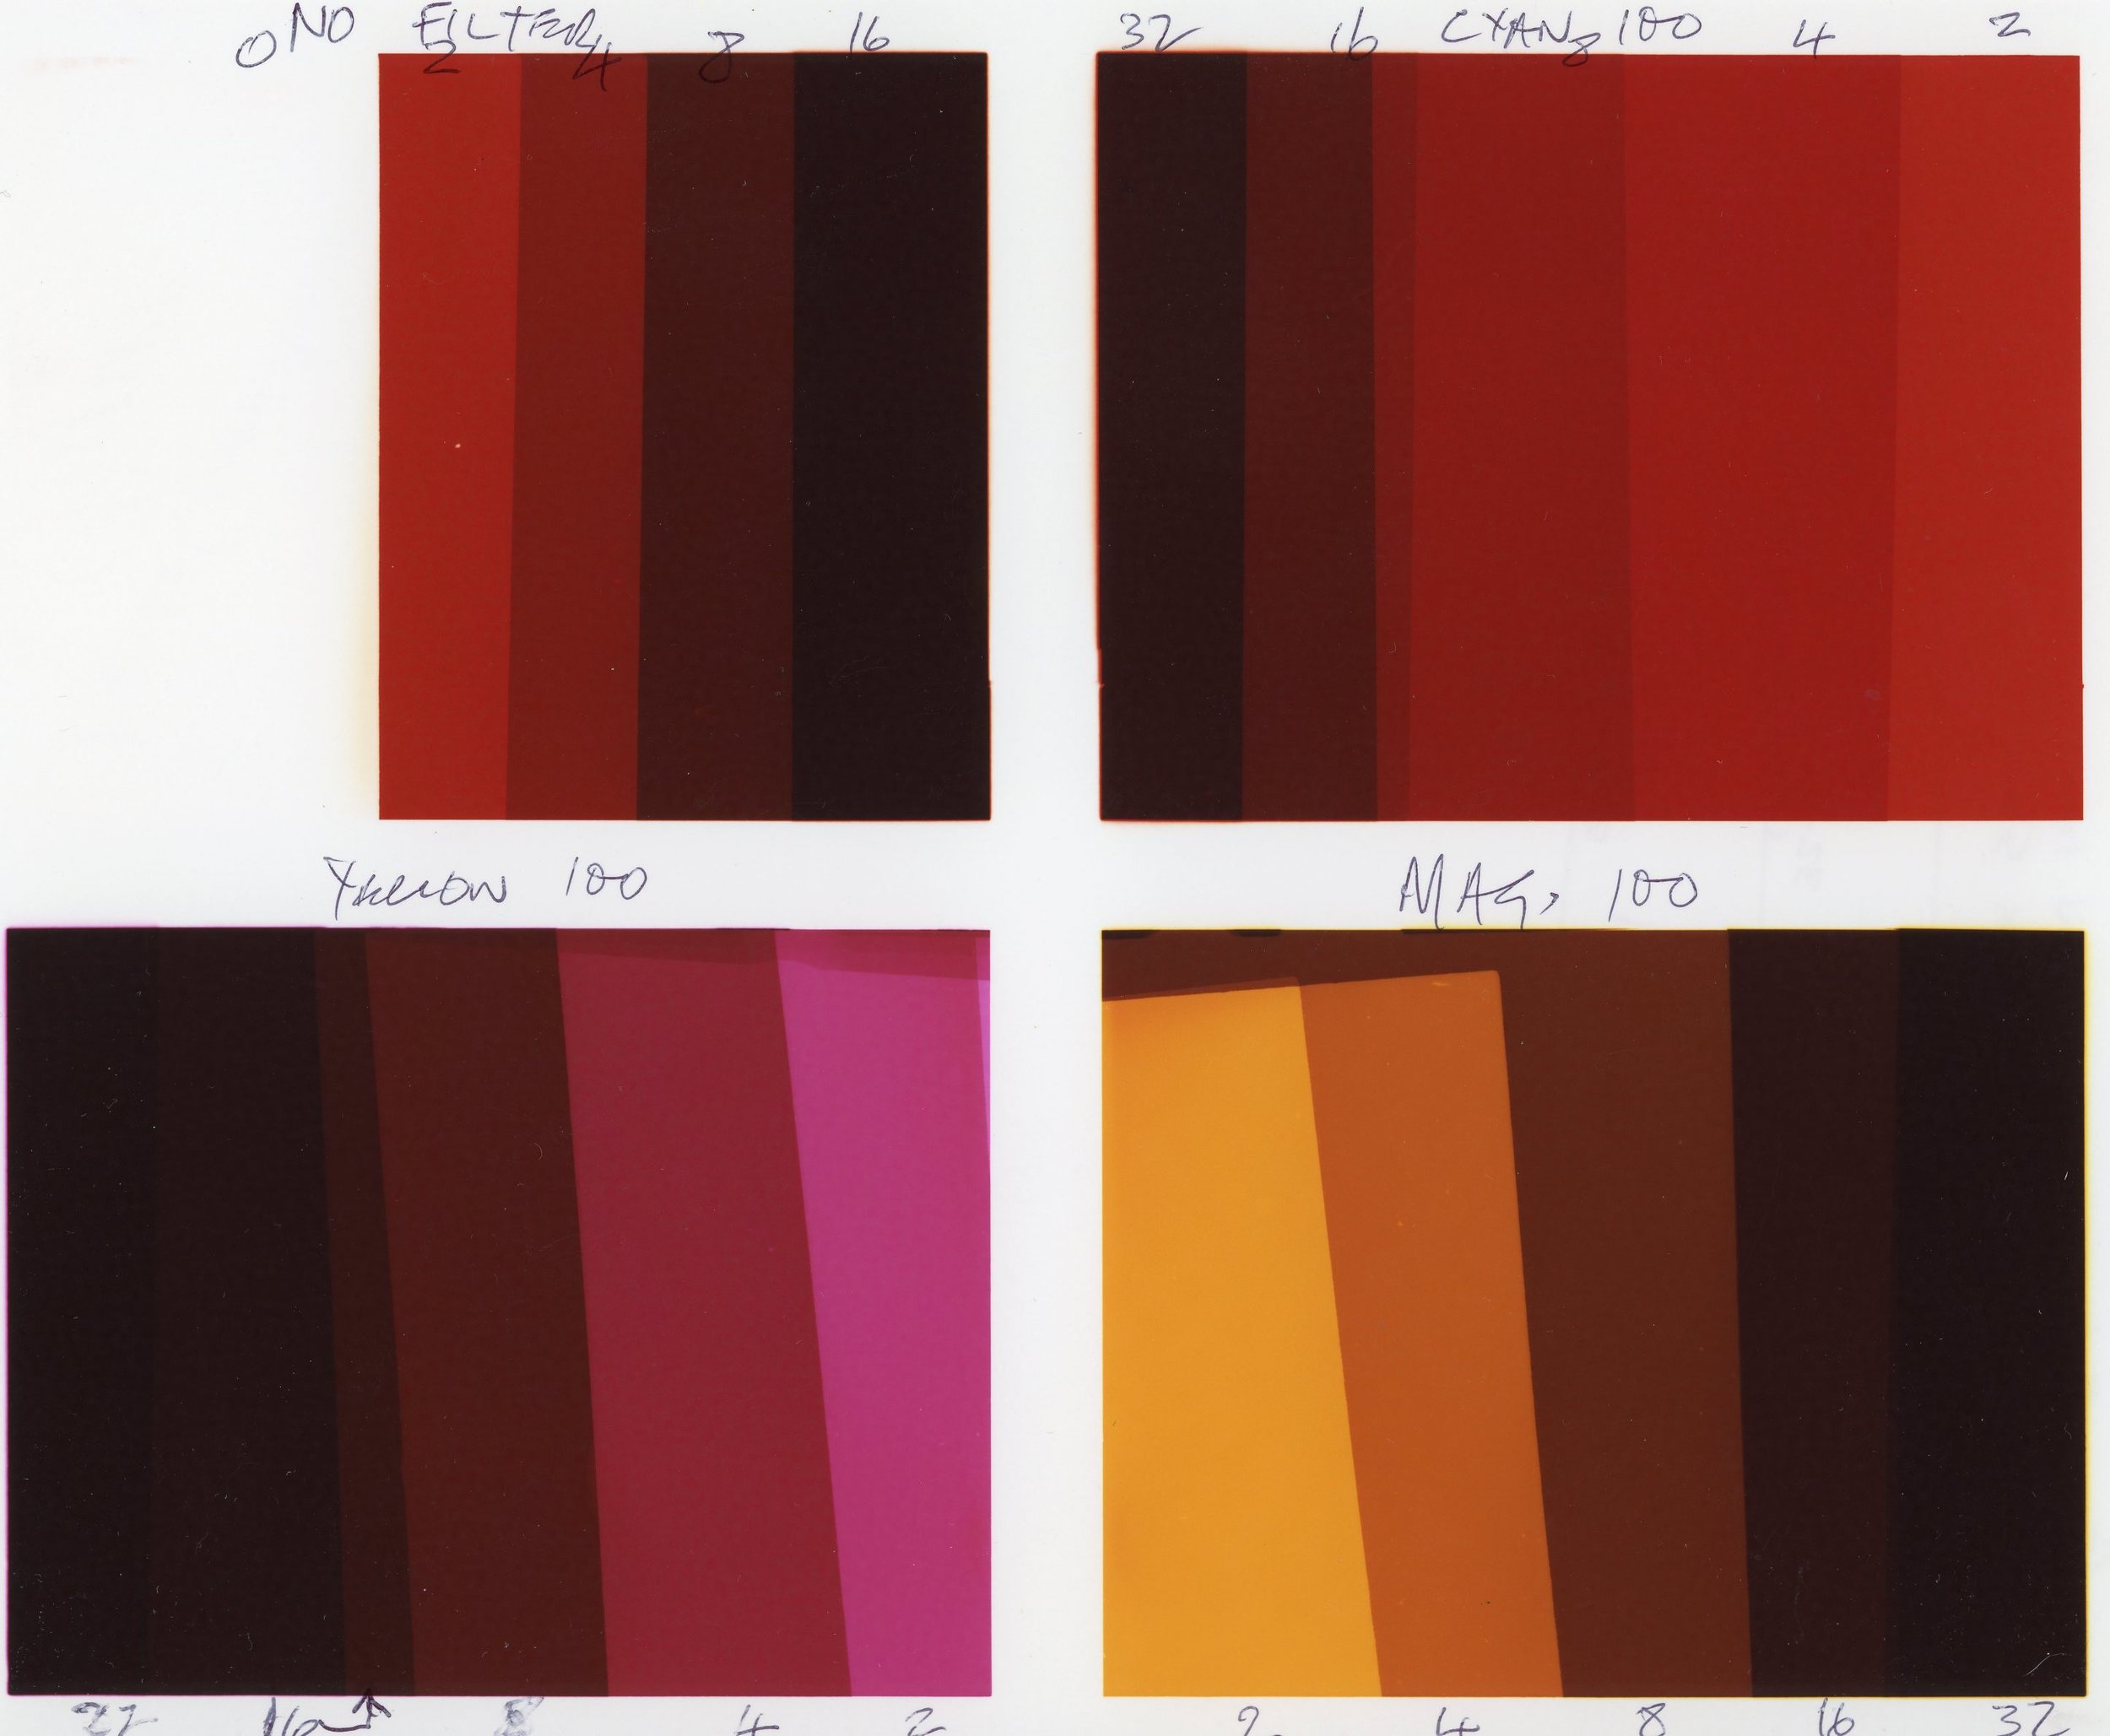

 In the process of reaching a reasonable approximation for the basic colour filtration required for neutral tones, I have discovered that it will be possible to produce a wide range of both bold and subtle colours which potentially offer exciting possibilities for the work I am hoping to create. This is will undoubtedly involve more experimentation and although the element of serendipity is often useful in producing photograms, in addition to fine tuning the colours utilised, I will need to develop a technique for getting the objects used into the optimum position on the paper in complete darkness before making the exposure. The image below, my first crude attempt to produce a colour photogram, shows some of the visual potential of the technique, while demonstrating the need to tackle the issue of alignment of the objects on the paper.
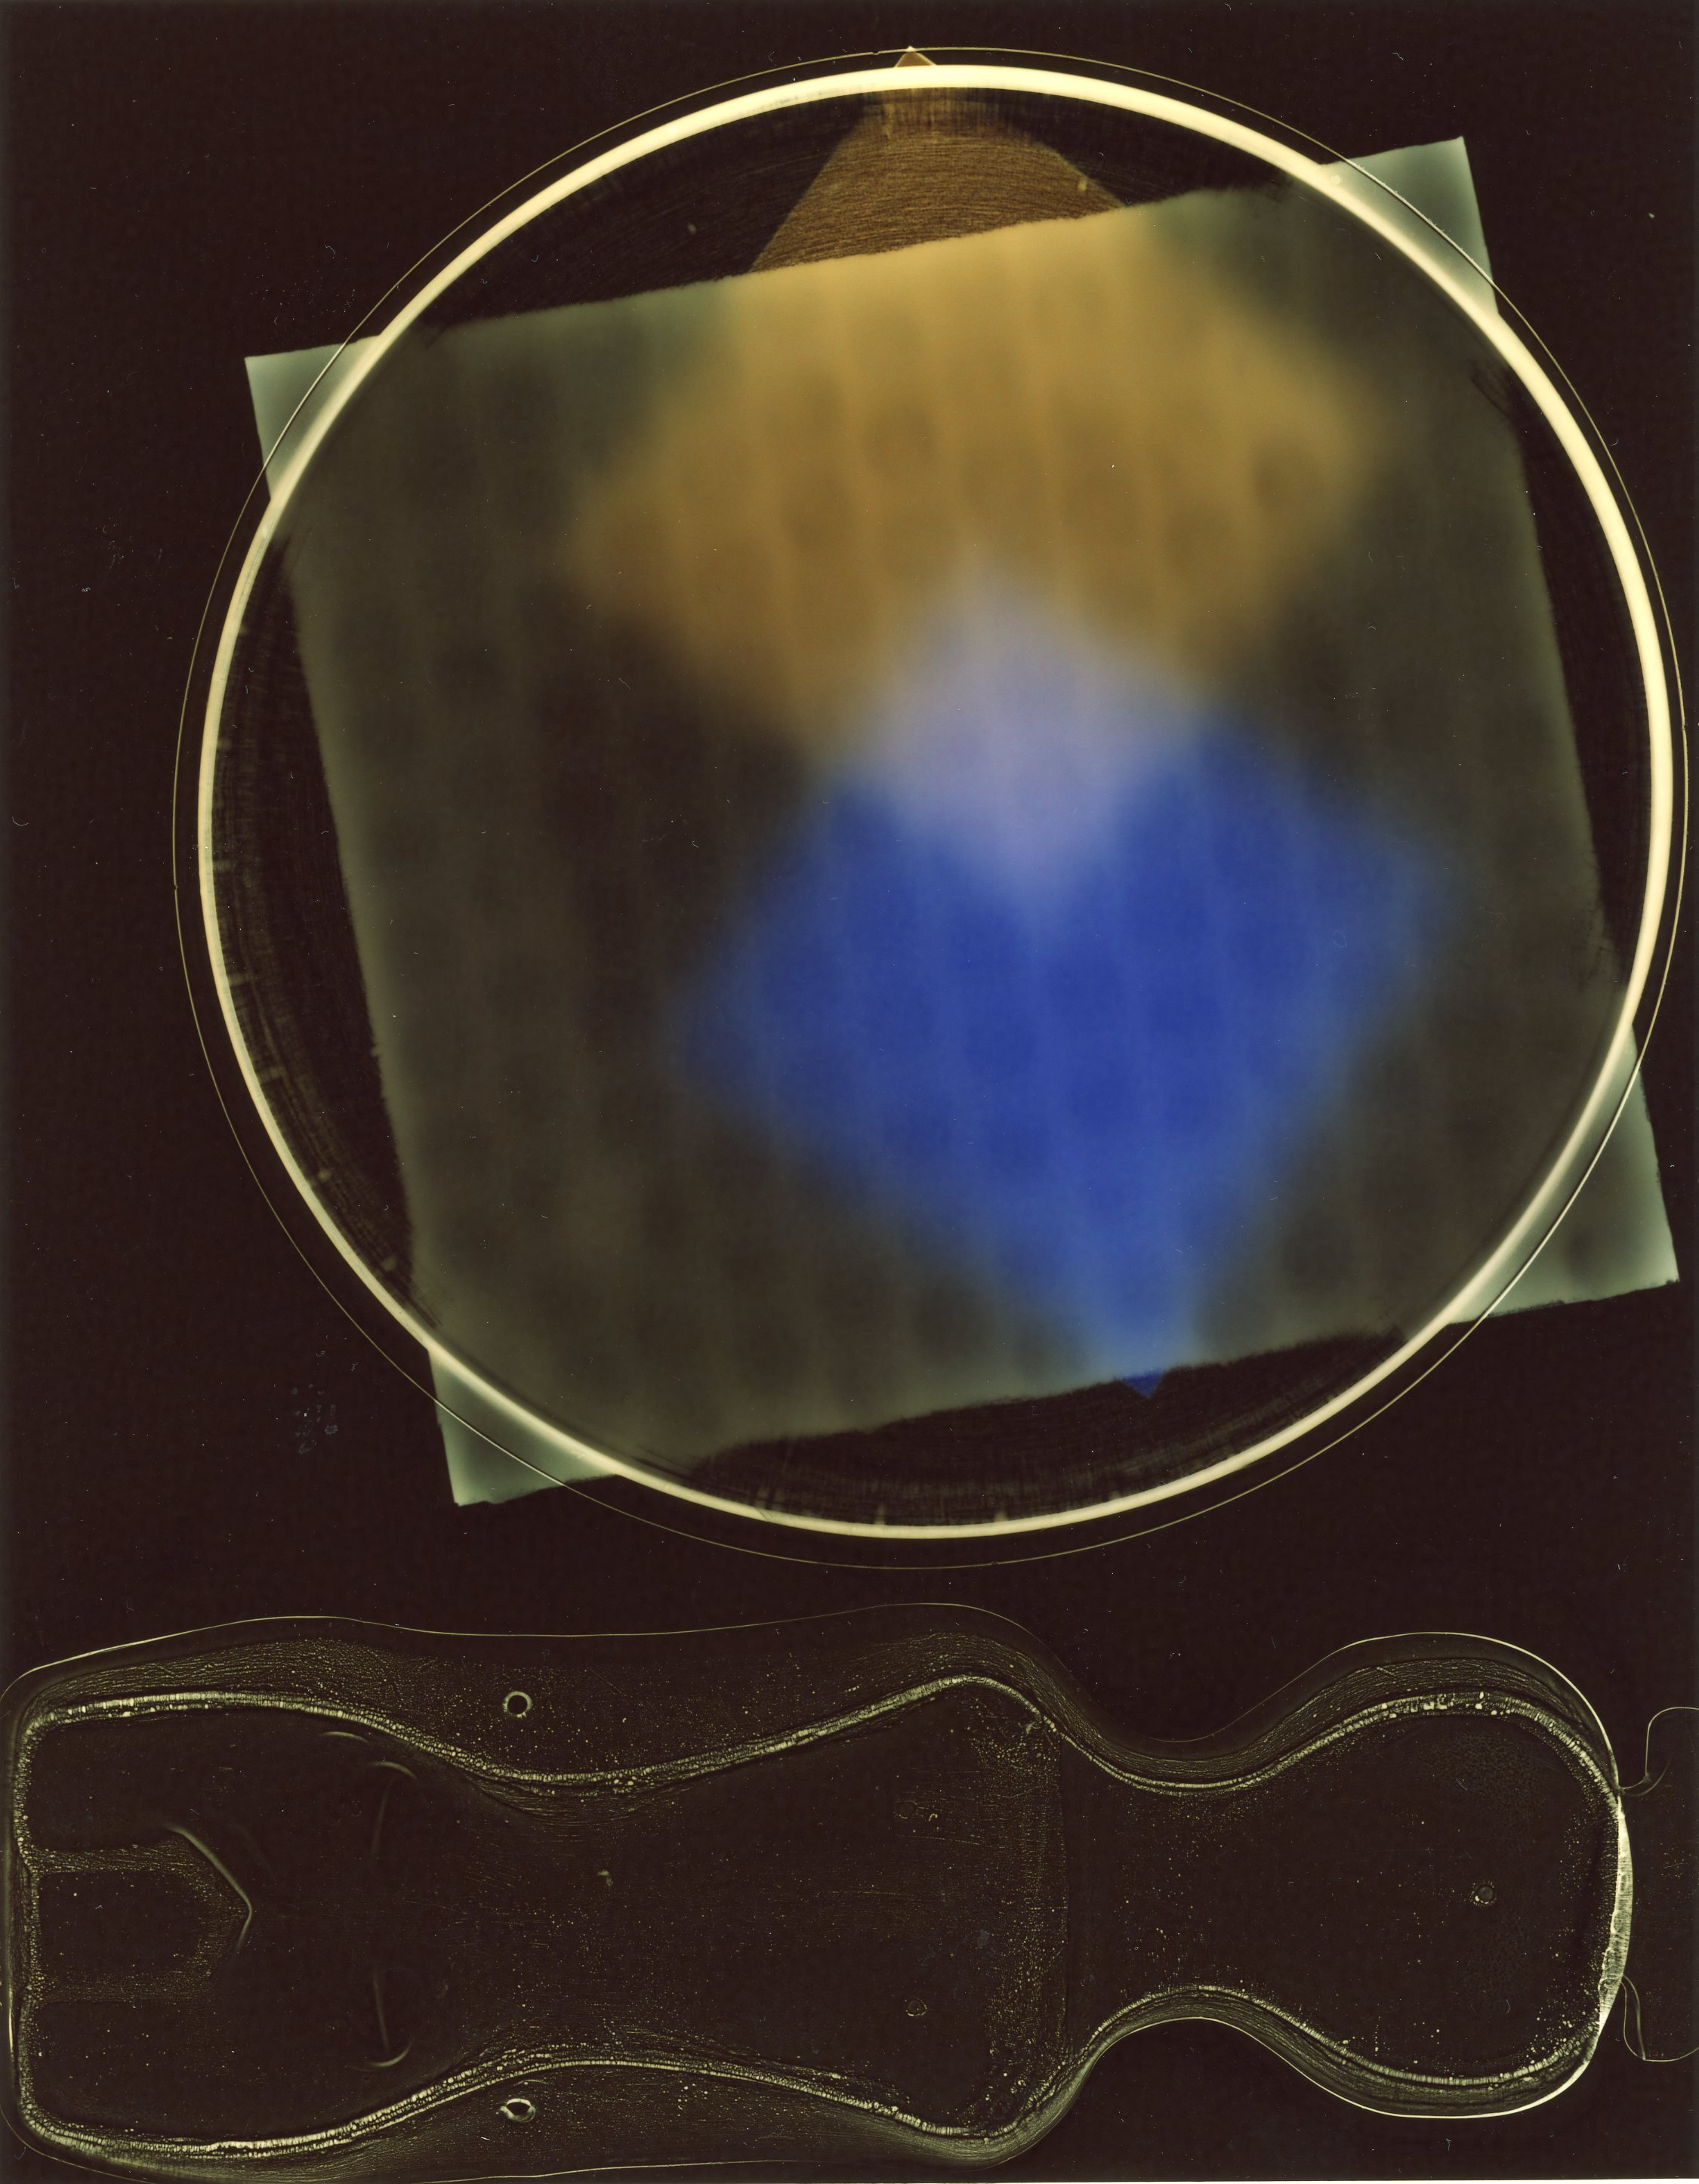 Reference: Langford M and Bilissi E, 'Negative/Positive Colour Printing' In: Langford's Advanced Photography (8th Edition) pp 296-301. Focal Press (an imprint of Elsevier), London, 2011.